My Favorite Videos
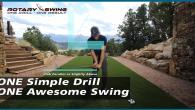
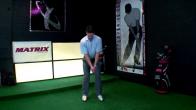
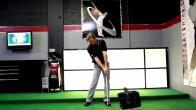
Knuckles Down - How to Hit Penetrating Golf Shots
Learn the 3 Tour Pro Consistency Secrets You've NEVER Heard!
Watch part 2 now to see how you're moving your body in the opposite direction of the pros!
Published: February 17, 2014
The typical amateur golfer has no idea how to control the trajectory of the golf ball. They hit weak, high, floating golf shots that get beat up by the wind and make it harder to control distance.
In this video I reveal the SECRETS that I teach so you know exactly how to launch low, penetrating missiles with any club in the bag.
You'll be able to hit the ball any height you want and play in any conditions, not to mention be able to pick up 1-2 clubs extra distance on your irons.
 This drill will help you take command over your ball flight and dramatically lower it for windy conditions.
As the video explains, you'll learn a drill that teaches you how to properly release the club and achieve a perfect impact position that will help you hit the ball further, on a Tour caliber trajectory.
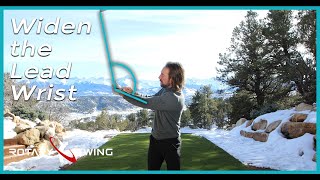
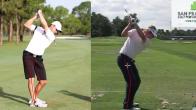
Before learning the drill, however, you first must understand what you are trying to achieve: The proper lead wrist position at impact is very slightly bowed.
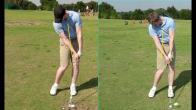
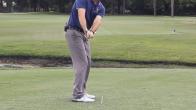
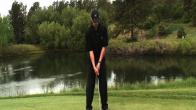
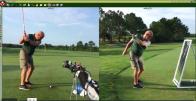
The middle picture below illustrates a correct position, with the other two representing too much cupping (left) and too much bowing (right).
 If your wrist position at impact looks more like the pictures on the left or right, you need the drill in this video to help you reach the position shown in the middle.
This video walks you through getting into this crucial wrist position and then provides two great reference points to help you practice and feel this position as you do drills and swing.
Watch the video now because, as an added bonus, you'll get a bit of a teaser for the RST technique used to draw and fade the ball (the full videos for those are coming very soon)!
Checkpoints for Practice
- Left hand position controls most aspects of ball flight - shot direction, shape, trajectory, etc.
- Left knuckles roll down into impact
- The logo of the glove feels like it's pointing down at the ground at impact - the left wrist is slightly arched
- To hit a higher shot, the logo should feel like it points at the target
- Let the wrist go slightly to the right for a fade, rotate a little more for a draw
Video Transcription: Knuckles Down - Logo Down
When it comes to controlling ball flight, almost everything that dictates where the ball is going to go, how low or high you're going to hit it, what shot shape you're going to have, is dictated by what you do with your left hand.
 Check impact alignment
Unfortunately, that's one of the frustrating parts of the game, is that most golfers are right handed. They do everything with their right hand and their left hand has never been trained - although it's funny, if you watch a golf instructor who's a skilled player, they typically do everything talking with their left hand.
I'm no different. Most everything I do is demonstrated by what I'm doing with my left hand, although in the real world, outside of golf, I can't even brush my teeth left handed. It's completely useless. But in golf I've taken the time to train it so it at least knows how to hit a golf ball. That's really about it.
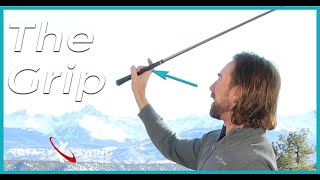
When it comes to controlling trajectory, what you want to start feeling is working on what you're feeling with the last three fingers, the last three knuckles in the left hand, and the logo of your glove. I'm going to give you some points that you can check to start being able to control your ball flight and start being able to hit shots that you didn't really think that you were able to do, just by learning how to train this guy.
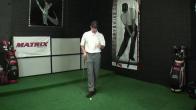
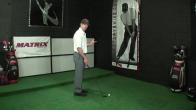
 Wrist in neutral (upper left), very cupped (upper right), slightly arched (lower left), very bowed (lower right)
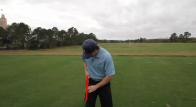
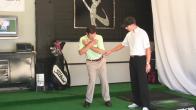
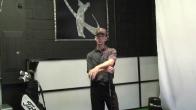
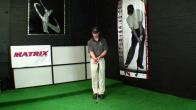
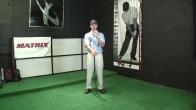
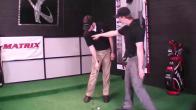
What we're going to do at first is we're just going to check our impact alignment. You should be able to simulate this position over and over by now. I'm going to move back a little bit so you can see the club face.
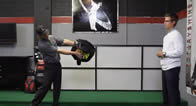
Now, if I'm in a proper impact position, the back of my left hand is slightly arched. You can see this would be in a wrist neutral position, this would be in a very cupped position, this is in a slightly arched position. This would be really bowed, so you can see how that is.
What that allows me to do is take this 6 iron and turn it into a 3 iron. That's why pros hit the ball so far. It's not necessarily that they swing really fast. It's that they use the club correctly by delofting it, so now I'm able to hit the ball a long ways without really doing a lot, because I've turned this club into a very strong, lofted club.
Now what I can do if I take my right hand out of the picture is I can notice some things. From my perspective - you're going to need to grab a club and stand up to be able to see this - when I take my right hand out of view I can see these last three fingers on my left hand.
If I was in a cupped position, I wouldn't really be able to see them. I can just barely see my pinky and maybe my ring finger. I want to be able to see almost all the way to my knuckles - these guys right here - on my left hand.
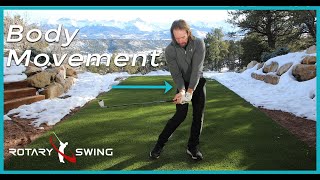
 Knuckles roll down into impact
In order to do that, what I have to feel is that these three knuckles as I come into impact are rolling down so that the logo on my glove, from my perspective, is pointing at the ground. Obviously it's not. From your perspective you can see it's pointing slightly at the ground but not straight down at the ground.
What you don't want is for your hand to be either pointing at the sky - that's terrible - or pointing necessarily directly at the target. You always want it to have a slight downward angle. That's showing that you've taken loft off the club, which is going to help you hit the ball farther and get a more flat, penetrating ball flight instead of a weak, high, spinny ball flight.
This will, long story short, help you compress the ball because your hands are always going to be farther ahead of the club, which will give you a more negative or steeper angle of attack, which is good for trapping the ball and compressing it properly, and getting it to launch correctly; I like the ball to launch pretty low.
Then at this point, once you can see those knuckles under there, you can see that if I start rotating it over this is how I'm going to slowly start teaching myself how to shape shots.
I can start equating everything that I do with a golf club to these three fingers of my left hand - these three knuckles - and the logo of my glove.
 Logo points at the target for a higher shot, slightly right for a fade
As I start working on, if I want to hit a high shot, I'm going to take this normal impact position and make it slightly weaker so that now the logo of my glove, from my perspective, no longer looks like it's pointing straight at the ground. It looks to me like it's pointing straight at the target.
Obviously it's still slightly down, but again what you want to pay attention to is what you see from your perspective at impact, because that's what you're going to be able to measure when you're on the course. Now my normal impact position looks like it's pointing at the ground. Here it's kind of pointing at the sky.
At all points, it's pointing more or less down the target line. If I want to hit a fade, I'm going to let that wrist position go slightly to the right. If I want to hit a draw, I'm going to work on rotating a little bit more through impact.
 Keep the left wrist arched
We'll get more into those details later in other videos, but this is where all of your club face control comes from. At a bare minimum, what I'd like for you to work on is getting into an impact position where you start rolling these fingers down, being able to see the knuckles on your fingers on your left hand, and feel like you're getting the logo of your glove pointing at the ground.
If you start doing this, you're going to be able to start hitting the ball lower, start compressing it and trapping it, but it's imperative that you work on it very, very slowly. Start hitting left-handed shots only, just going to here and stopping.
Then as you get better you're going to start releasing, but for now just work on keeping that left wrist in that flat, arched position there and rolling those knuckles under so that rather than coming in where your logo is facing the sky and you're coming across it, you're going to start trapping it and hitting down on it.
Think knuckles down, rolling the knuckles down, and the logo down and you'll start compressing the ball and start getting the ball to come out much lower and flatter.
