


GOAT Code
The GOAT CODE - A TRUE Step By Step Method
Most Recent Videos

How to Whip the Club with GOATY
June 5, 2026
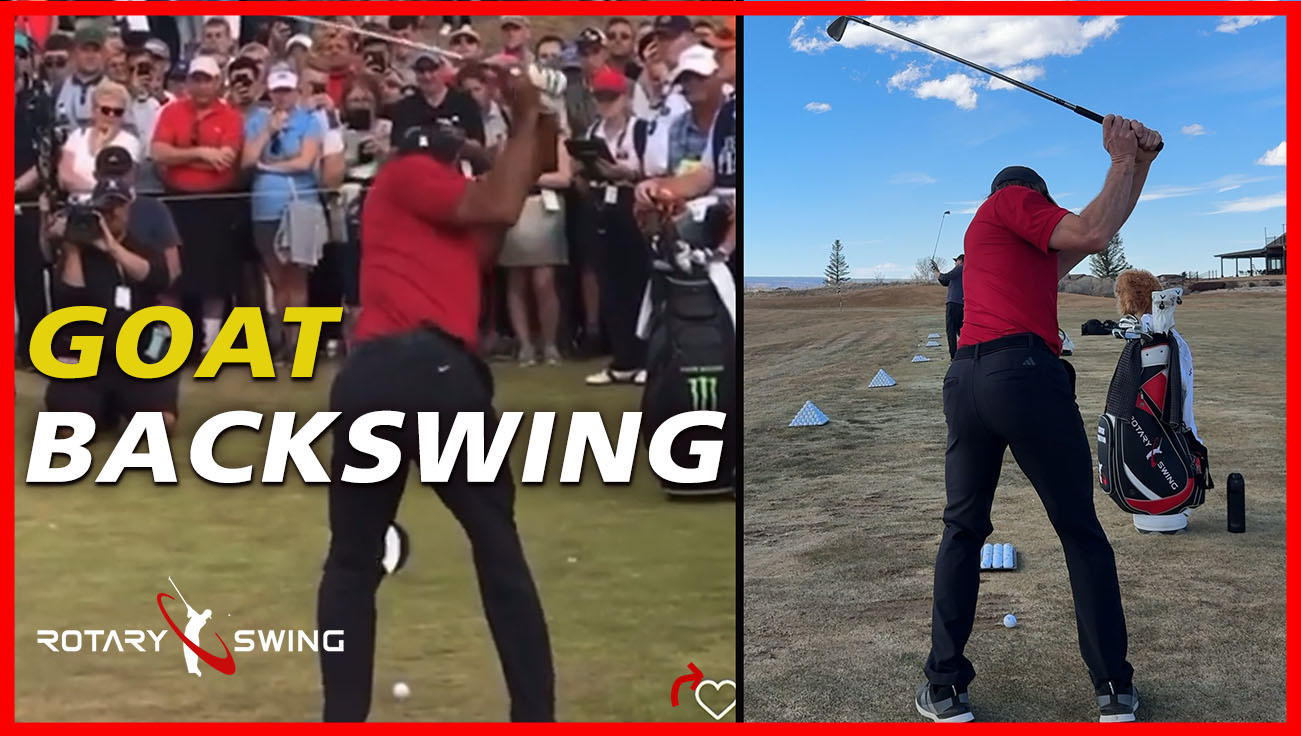
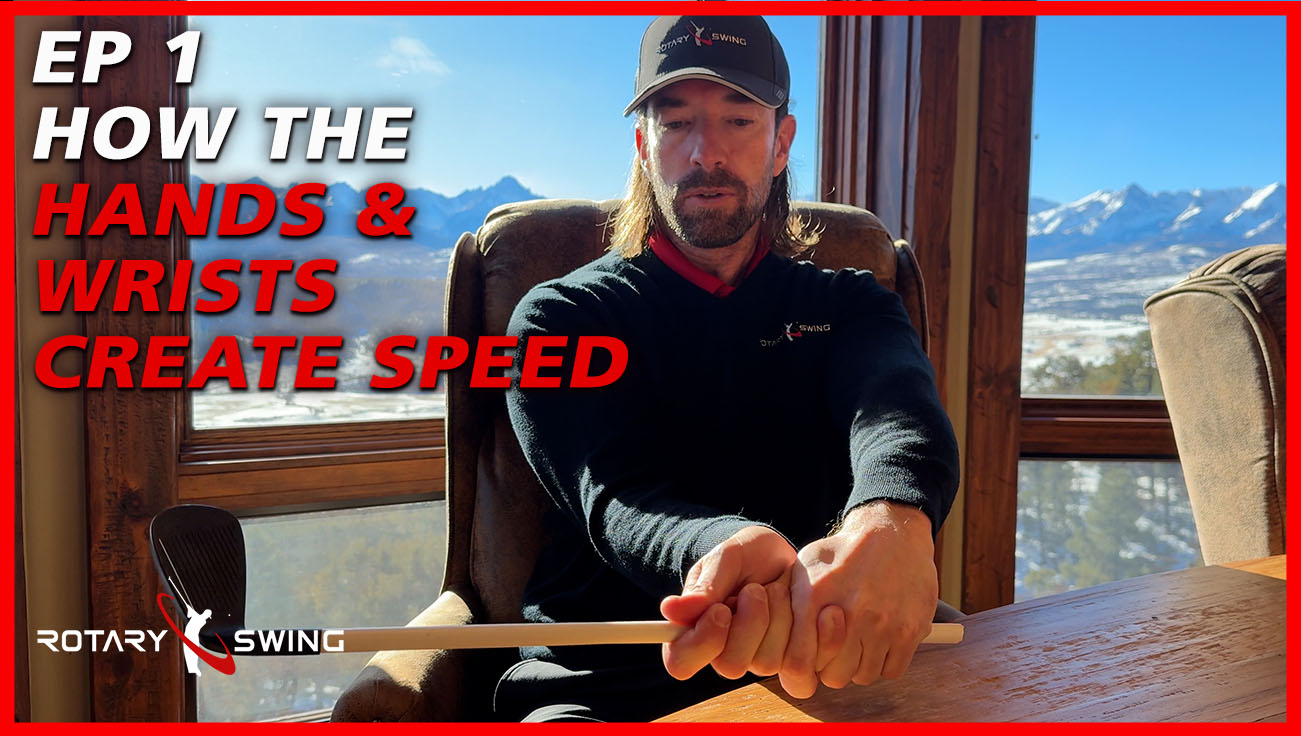
Most golfers never feel true clubhead whip because they drag the handle, push with the trail arm, or try to force speed with the body. In this video, I break down how elite players like Tiger create that effortless snap through impact — not by throwing the club from the top, but by setting up the release so the clubhead whips past the hands with almost no effort. The key is learning the release backwards: Feel the lead wrist supinate. Feel the butt of the club pivot. Stop dragging the handle forward. Let the club move out of the palm and into the fingers. Then learn how to stretch the lead side so the club can snap through naturally. This is the missing piece for golfers who struggle with handle drag, no release, weak speed, casting, or trying to muscle the club through impact. The GOATs don’t force the whip. They create the structure that makes the whip unavoidable. In this video, you’ll learn: Why handle drag kills clubhead speed How the lead wrist supinates through impact Why the butt of the club has to pivot instead of keep dragging forward How to feel the clubhead pass the hands Why the trail arm must stay passive How the lead side stretch creates a passive, powerful release How Tiger-like players create speed with less effort Try the drill slowly first. This is a feel-discovery drill, not a forced hand-roll. Once you feel the club snap, the release becomes far more effortless and controllable. Train with GOATY: Get GOATY

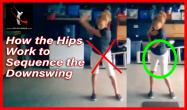
How the GOATs Use their Glutes
May 28, 2026
How to use your glutes in the golf swing like the GOATs. This video covers the exact sequence of movement and what you should feel to begin using your most powerful muscles in the golf swing - your glutes.