3 Steps to better impact position in golf

Sorry, you need to be a member to access this video.
You're Just Seconds Away - Become a member here!

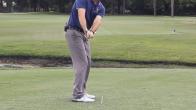
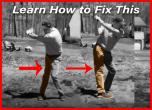
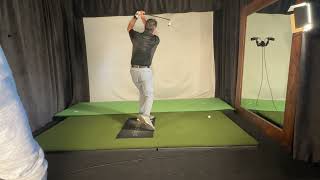
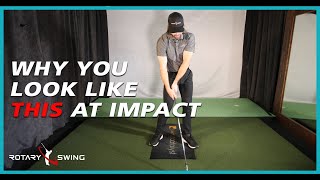
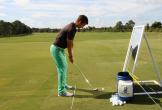
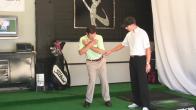
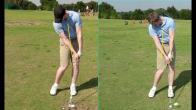
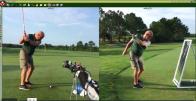
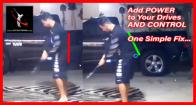
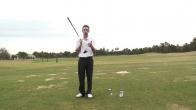
Golf is a sport that can leave you frustrated round after round, but WHY? What exactly are you working on to get over the immense frustration? In this video, I'll show you a 3 step process that got this student into an awesome impact position with more lag and tons of compression. I'll show you how we used a list of premium videos on the site and accomplished a pretty drastic overhaul in just 2 short hours on the range. Stop being frustrated and see just how easy it can be get that amazing feeling of a compressed shot!

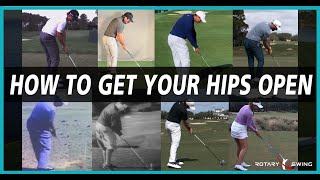
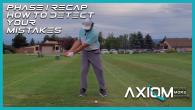
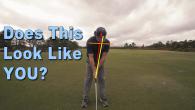
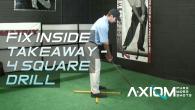
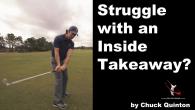
  • Identify the main issues that are causing a poor impact position
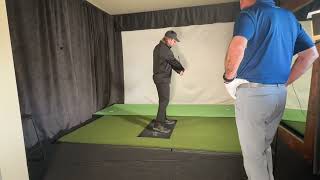
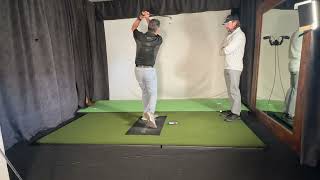
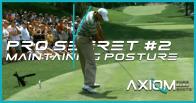
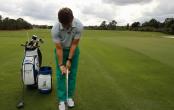
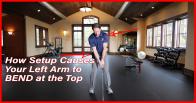
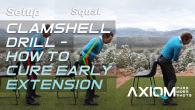
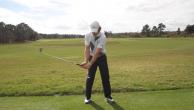
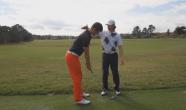
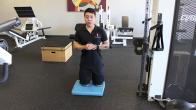
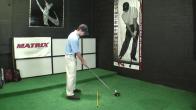
  • Check to make sure your setup and posture are perfect. 
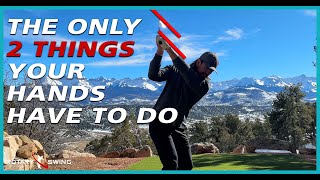
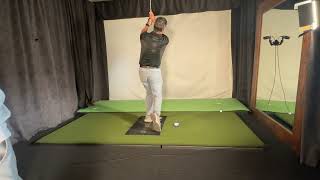
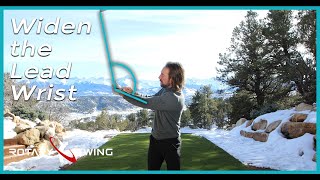
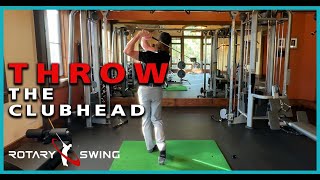
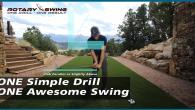
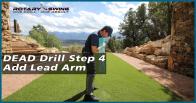
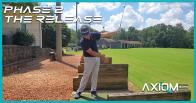
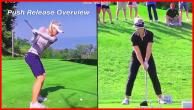
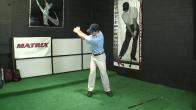
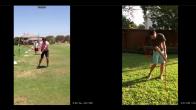
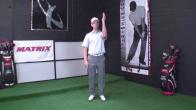
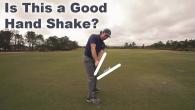
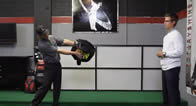
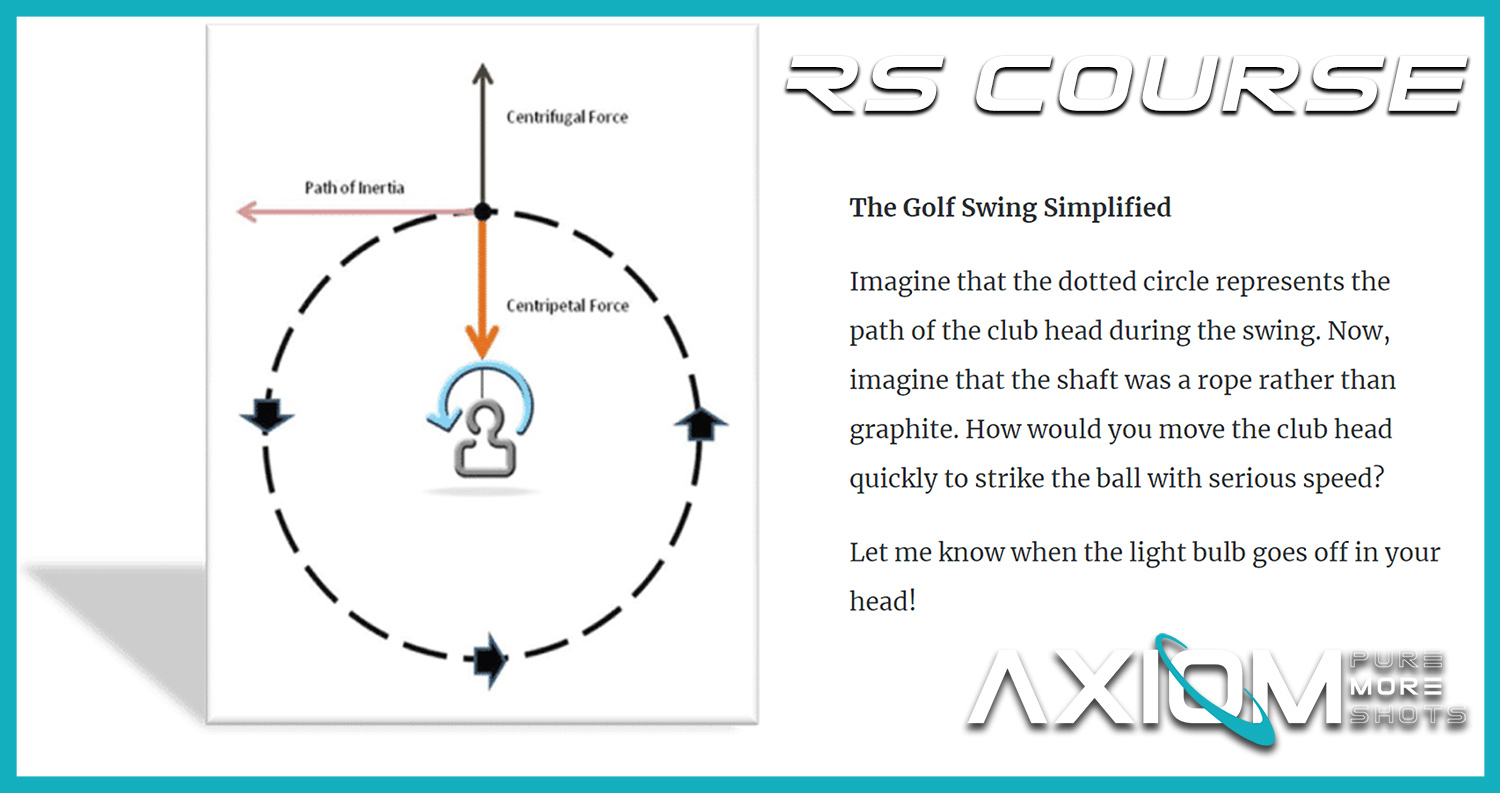
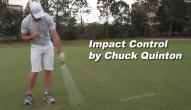
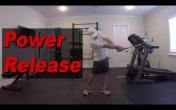
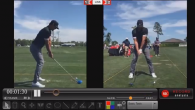
  • Work on fine tuning your release with very small relaxed swings with just the lead hand on the club
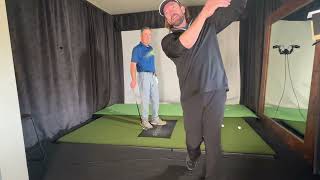
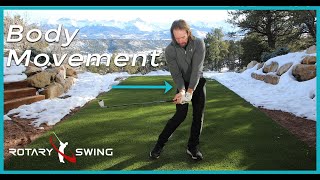
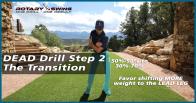
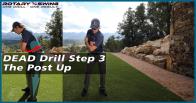
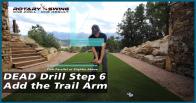
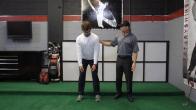
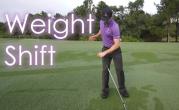
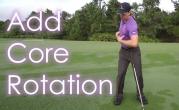
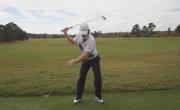
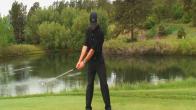
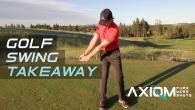
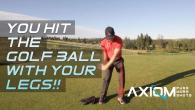
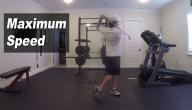
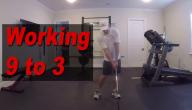
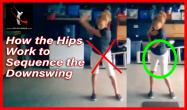
  • Work on using your lower body to pull the arms down into the hitting area. 

Must be Premium Member to Comment

64x64
Terry
I would appreciate some clarification on what the hands should be doing on the downswing. I have done every exercise you have about lag, yet still find I can't get to parallel at my left knee. I think that either my right thumb or left thumb is pushing the club down and I need to know what the hands are supposed to be doing. Are they neutral, in a sense just holding on? Any drills for this problem?
October 29, 2015
64x64
Craig (Certified RST Instructor)
Hello Terry. Are you right handed or left handed? Because "parallel at the left knee" for a right handed player is excessive. Left Thumb Nail Pain Video for pushing lead thumb.
October 29, 2015
64x64
Terry
Right handed and I meant right knee. I try the video.
October 29, 2015
64x64
Craig (Certified RST Instructor)
Hello Terry. Take a look at Perfecting Impact Part 4 while you are at it. Ok. Phew. That would've been too much.
October 29, 2015
64x64
Thomas
looks like me at impact. Great video.
June 5, 2015
64x64
Craig (Certified RST Instructor)
Thanks Tom. Will pass the compliment.
June 5, 2015
64x64
Stephen
Hi craig, i have to work on sequencing the downswing for my next review. Would It be good for me to practice step 3 in this video, to get the sequencing correct, or would you rather wait till the next review to identify any sequencing problems in my swing. if so, is this best sequencing drill on the site to try out? Stephen
June 5, 2015
64x64
Craig (Certified RST Instructor)
Hello Stephen. This is a really good sequencing drill. However, lets go with the 5 Mins to the Perfect Downswing and make adjustments from there.
June 5, 2015
64x64
Adam
Chris, Could you please explain in detail what you did in Step 2 (so that I can try it at home)? It sounds a lot like the Left Hand Release Drill without a club. Thanks, Adam
June 4, 2015
64x64
Craig (Certified RST Instructor)
Hello Adam. You are exactly correct. Lead Arm Only Releases to make sure the trail hand didn't push and to get a good awareness of a square face at impact and face rotation.
June 4, 2015
64x64
Adam
Here is what I got for Step 2 from watching the video. Please provide any additional information or instruction: ---LEFT ARM RELEASE WITHOUT A CLUB: ---Work from hip high to hip high ---Preset your weight onto your lead side ---Use the left shoulder as a pivot point, with the left arm just swinging underneath ---(Student was amazed at how little tension you want to feel for this move) ---Glove logo faces in front of you (towards the camera for Face On view) at 9 oclock ---Glove logo faces behind you (away from the camera for Face On view) at 3 oclock ---Repeat for a good number of reps ---- Allow the left arm to stay relaxed ---- Allow the left wrist to feel that it is just rotating ---- Slowly add the club back into the mix
June 5, 2015
64x64
Adam
Here is what I got for Step 2 from watching the video. Please provide any additional information or instruction: LEFT ARM RELEASE WITHOUT A CLUB: Work from hip high to hip high Preset your weight onto your lead side Use the left shoulder as a pivot point, with the left arm just swinging underneath (Student was amazed at how little tension you want to feel for this move) Glove logo faces in front of you (towards the camera for Face On view) at 9 oclock Glove logo faces behind you (away from the camera for Face On view) at 3 oclock Repeat for a good number of reps - Allow the left arm to stay relaxed - Allow the left wrist to feel that it is just rotating - Slowly add the club back into the mix
June 5, 2015
64x64
Craig (Certified RST Instructor)
Correct. Learn to take away tension. It is a killer in the golf swing. Groove the motion. Add a club to start in graining feel of correct release. Slowly progress bigger and faster.
June 5, 2015
64x64
Brandon
A video of this "step 2" drill would be very helpful. Difficult to grasp exactly how it is done from this video. Thanks.
June 25, 2015
64x64
Roger (Certified RST Instructor)
Hey Chris, great video as always. It appeared that in step 3 where Kevin was shifting left that it was a bit of a closed hip slide that allowed him to get stacked onto his left side where he was then able to use external rotation of the left leg with the aid of the left oblique to release the arms for the ultimate impact position. Is this assessment accurate and if so, would this approach or drill work for me. Thanks again, Roger
June 4, 2015
64x64
Craig (Certified RST Instructor)
Hello Roger. Some players need to feel the exaggerated closed position to train the transition into the lead side. However, in actuality the lead knee will externally rotate first as you start to pull the weight over with lead hip abduction.
June 4, 2015
64x64
Roger (Certified RST Instructor)
Craig, Thanks for the reply, I was not aware the left knee had any roll in initiating the shift/rotation left to allow me to post up on the left side. Thanks, Roger
June 4, 2015
64x64
Craig (Certified RST Instructor)
Hello Roger. No problem. There has to been some external rotation of the lead leg/knee to help get stacked over the ankle joint.
June 4, 2015
64x64
William
Good Day Chris & all @ RST! I have been struggling with similar issues as Kevin has. In the past week or so I began checking out my posture and noticed it was getting real 'lazy' looking. The difference in my ball striking since correcting this fundamental is quite amazing. It's still not 100%, but my understanding of the golf swing and especially how lower body stability is achieved and maintained is finally beginning to sink in to my somewhat 'thick' skull... Big thanks to my instructor Steve Maes and Chris for the videos! William
June 4, 2015
64x64
Craig (Certified RST Instructor)
Hey William. Great. Will pass on the good word. The foundation (setup) is critical if you want to swing the club correctly. Appreciate the compliment of our instructors.
June 4, 2015
64x64
Ali
Thanks. It just cleared some of my mistakes too. Now I know where to focus and correct. Amazing video. Appreciated.
June 3, 2015
64x64
Chris (Certified RST Instructor)
Glad you enjoyed Ali. Let us know if we can do anything else at all.
June 3, 2015
64x64
Joseph
I don't get the part about "sequence drill" - very vague ; please clarify much
June 3, 2015
64x64
Chris (Certified RST Instructor)
Hey Joseph, this was a drill very similar to the squat to square video that Chuck put out.
June 3, 2015

We're after one thing: Real Results - Real Fast. And that's exactly what our members achieve. And that's why they say the AXIOM is: Mind-blowing. Game changing. Revolutionary.

Check it out ...

Here at RotarySwing, talk is cheap and the proof is always in the pudding. Come see the massive transformations we can achieve together in your swing.

See for yourself ...

From beginner to pro, we have what you need to get you where you want to go.

See how inside ...

RotarySwing was founded out of frustration with the current state of golf instruction. Quinton knew a better way had to exist to learn this game we all love.

Learn more ...