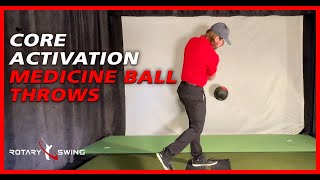
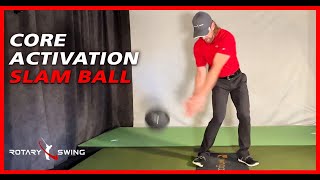
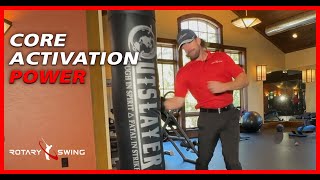
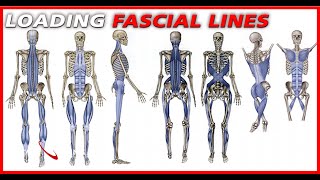
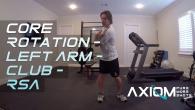
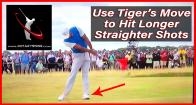
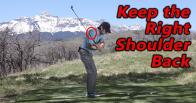
This Core Rotation Exercise targets the muscles responsible for generating rotational speed and power in your golf swing — allowing you to hit the ball farther with less effort.
The primary muscles you'll be training are the obliques — the muscles that run along each side of your torso. These are the muscles that initiate and control hip rotation throughout your swing.
Want to feel this in YOUR swing? Try a free AI-powered golf lesson → — GOATY gives you real-time voice coaching, pose tracking, and instant feedback on every rep.
Related: Golf hip rotation — what AI coaching reveals →
Android users: Download GOATY on Google Play — free AI golf coaching on your Android phone. →

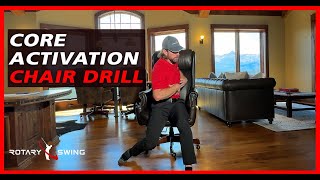
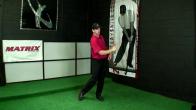
Core Rotation Exercise
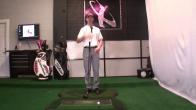
Lie flat on the floor for this exercise. Keep your upper body completely flat against the mat, then contract the obliques on your left side, pulling toward center. This contraction will rotate your hips and lift your right hip off the ground.
Stop reading about it — feel it in your swing today
GOATY watches your swing live and coaches you between every rep. Free. No signup.
Start Your FREE Live Lesson →
Contracting left obliques
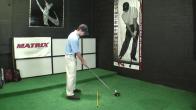
Now contract the obliques on your right side, pulling your left hip off the ground. Keep your upper body flat and stable on the mat at all times. The critical rule: don't push with your arms to force your hips upward — isolate the oblique contraction and let those muscles do all the work.

Contracting right obliques
If you haven't trained your obliques with isolated exercises before, focus on truly feeling each side work independently. Concentrate on the contraction and allow the muscles to pull your hips off the ground organically — no assistance from your arms or shoulders.
This exercise will systematically strengthen your obliques and build the rotational power that translates directly to more distance and authority in your golf swing. For a detailed look at how your current swing mechanics produce power, try a free AI swing analysis. To practice with real-time coaching, check out a free AI golf lesson.
How to Perform Core Rotation Exercise
Learn to strengthen your obliques for better hip rotation in your golf swing.
-
1
Lie Flat on the Floor
Start by lying flat on your back on the floor. Ensure your upper body is completely stable against the mat throughout the exercise.
-
2
Contract Left Obliques
Begin by contracting the obliques on your left side. This contraction should pull your hips toward the center, lifting your right hip off the ground.
-
3
Contract Right Obliques
Next, switch to contracting the obliques on your right side. This action will pull your left hip off the ground while keeping your upper body flat.
-
4
Isolate the Movement
Focus on isolating the oblique contractions without using your arms or shoulders. Allow the muscles to lift your hips naturally.
-
5
Practice Independently
If you're new to this exercise, concentrate on feeling each side work independently. This will help strengthen your obliques effectively.
-
6
Maintain Stability
Throughout the exercise, ensure your upper body remains flat and stable. Avoid pushing with your arms to maximize the effectiveness of the oblique contractions.
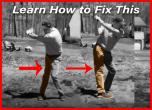
Watch part 2 now to see how you're moving your body in the opposite direction of the pros!