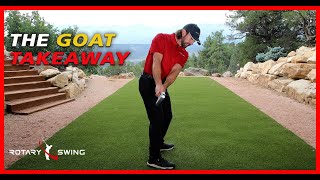
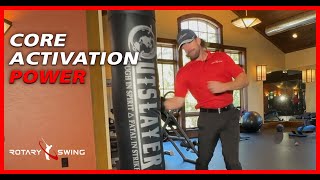
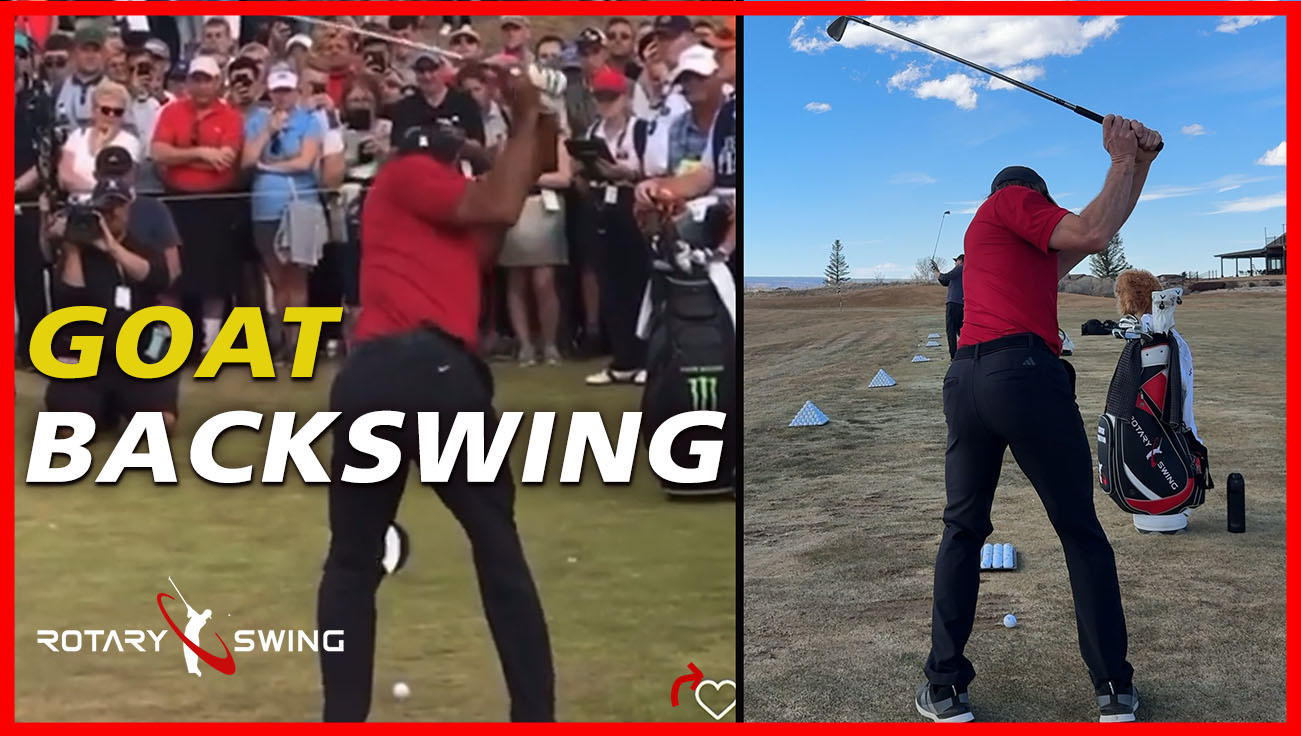
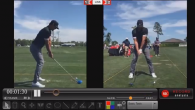
Video Transcription: How the Lower Body Works
Chuck: We're here with Clay Ballard, our new RST Certified Instructor, who's taking over down here in Orlando for us and doing a fantastic job learning all the biomechanics of the swing. He's also going to help us today break down the lower body movement in the golf swing.
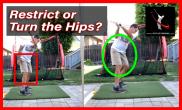
I know for many of you golfers, we talk about hip spinners and similar patterns that tend to be more relevant to the better golfer, but obviously that doesn't describe everyone watching. We know from our community that a lot of golfers still come over the top and don't have a clear understanding of how the lower body drives the swing, so that's exactly what we're going to cover today.

2D swing model
We've built a little 2D model here. It's constructed kind of like Clay. Maybe we'll call him Clay, the stick figure to move here. Basically, it's an over-simplified 2D model from a top-down perspective. Like I say, it's over-simplified, but it's going to illustrate the segments of the body, in proportion, and how they sequence. They're color-coded for a specific reason.
The bottom piece is green. This is the initiating piece, and it's the smallest piece. The green piece represents the hips, and it's green for a very deliberate reason. We're going to explain that in a moment.
The next piece, proportionately larger than the green piece, is red, and it's red for a specific reason. That represents the shoulders, or the upper torso. Then the yellow piece represents the lead arm, and the blue piece represents the golf club.
They're color-coded for a reason. Clay, we see a huge number of golfers moving these segments in the wrong order. We spend considerable time discussing sequencing in golf instruction, and this is exactly where golfers come over the top — they fail to sequence the body segments correctly.
They're color-coded like this for a reason. What do we typically see as the first segment moving in the higher-handicap golfers?
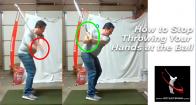
Clay: With the higher-handicap golfers, they tend to unwind their shoulders right from the start. They throw their arms from the top and that causes the club to release far too early. They're essentially throwing the club from the top, coming over the top, hitting a big slice, getting too steep on the path; a whole cascade of problems stems from that single sequencing error.
Chuck: Yeah, exactly. This is precisely why this piece is red. Especially if you're an over-the-top golfer, your first move in the downswing is not to engage your lower body, but to heave your upper body around. Then of course the club fires early, and your arms fire early, so you lose a tremendous amount of lag and that's how you cast it.

2D model - Top of the swing
We have the hips colored green for a very specific reason. The hips can fire first and, for most of you golfers in the higher-handicap range, that's exactly what we want to happen. We need you focused on getting that hip rotation initiated before anything else moves.
Obviously, many of the videos on the website address hip spinners, and that content is really targeted at the lower-handicap player who hasn't learned how to post up and decelerate the hips. They simply keep rotating through without braking.
We know from the online groups and video submissions that many of you on the website are still over-the-top golfers, casting the club and moving the segments in the wrong order. Correct sequencing is everything in the golf swing. That's precisely how you build effortless power.
Let's examine this sequence and how it operates in the golf swing. I'm going to go ahead and move Clay here up to the top of the backswing, and show you approximately where everything would be, roughly, in this sequence. Again, this is over-simplified. We don't have precise angles. We're just trying to create a really clear visual picture.
You can see, in this position, the hips have turned about 45 degrees. That's fine. The shoulders are rotated roughly 90 degrees, maybe even a bit more. The arm is loaded up across the chest, so it's across the red piece here, and then the club is loaded up above.
Now we have a tremendous amount of potential energy stored. When we started out at address, we had nothing. There's nothing to hit with. There are no angles, no leverage, right? But as we rotate back, now we have some rotational force, and we also have some significant levers created.

Before the swing begins, we have no leverage or potential energy
This angle right here is now potential energy. This lever is potential energy. As those two are working together, we've got to get these segments to work and release — let me tighten that up real quick — now, in this position, we have substantial leverage and substantial force available to us.
The key is to unwind that stored force in the correct sequence. That's the entire purpose of the downswing. We're loading up to create potential energy during the backswing. Now we've created these levers and we need to unwind them in the proper order.
As Clay mentioned earlier, the first thing we typically see with struggling golfers is they take the red part. Red means stop. We don't want to fire that red segment. We don't need this to just start unwinding early because when that happens, we're removing our trunk and lower body from the power equation. What the lower body ends up doing instead is stabilizing to support the upper body, just to keep us from falling on our face.
Instead, we need the lower part to fire first. In a moment, in the next part of the video, we're going to show you exactly how to move that lower body in the right sequence, along with specific drills to train it.

Rotating the hips carries everything else along
Let's look at how the correct sequence works here. As I start unwinding the green segment first — it's green because we want it to go — as it starts to unwind, notice how all of the segments above it are being moved. What are the arms doing at this point?
Clay: Very little.
Chuck: Right. Most people do this, right from the top. They take these upper segments, they fire them out in the wrong sequence.
If we move the hips correctly, the arms are being transported by the lower body. We talk about that concept frequently. You hear descriptions like, "I feel like my arms are falling from the top." "They're relatively passive from the top." When we discuss how the arms work in the downswing, that guidance is really directed at a player whose lower body movement is already functioning correctly, but that's not everyone.
We want to maintain these wrist and arm angles deeper into the downswing. For the average higher-handicap golfer, we need to preserve those angles as long as humanly possible, is what it's going to feel like.
Clay: Absolutely. There's something called the kinematic sequence of events, which is just the order in which your body segments fire. If you execute this efficiently you're going to generate maximum power. That's something that we see very few amateurs accomplish, while a lot of the professionals do it exceptionally well. This is an absolutely critical factor in getting the maximum amount of power into all your shots.

Hip spinners keep going - the club releases late
Chuck: Yup, exactly. That's what we want to achieve — sequence all of these movements so that everything is delivered at precisely the right point in the swing arc.
Now we're going to move the hip segment. I'm not moving anything else, but because all the segments are connected through your muscles, tendons, and ligaments, the rest of the body gets pulled along for the ride.
As the hips accelerate and then decelerate — because we don't want the hips to keep spinning; that's what we address with our higher-handicap players. When they don't learn to decelerate the hips and they just keep rotating, the club inevitably releases late. If we imagine impact is here, this club is going to release well after the ball. There's no efficient transfer of energy happening.
We want the hips to decelerate, and that's a major focus of this next part of the video — getting the hips to move correctly at first and then decelerate because we need to transmit that energy up the kinetic chain, eventually reaching the club head.
As the hips begin to decelerate, the shoulders start to accelerate somewhat faster. They speed up a bit, but not dramatically. That's not something you're consciously trying to produce. We don't want to take our shoulders and actively drive them through. We want our hips — once you stretch these muscles, the shoulders get pulled around by your obliques and other core musculature. That's the natural chain reaction we're after.
Then the shoulders also decelerate. The arm accelerates off the chest next. Then as it decelerates as well, the club head finally gets its chance to accelerate to peak velocity.

Uncoiling in the downswing
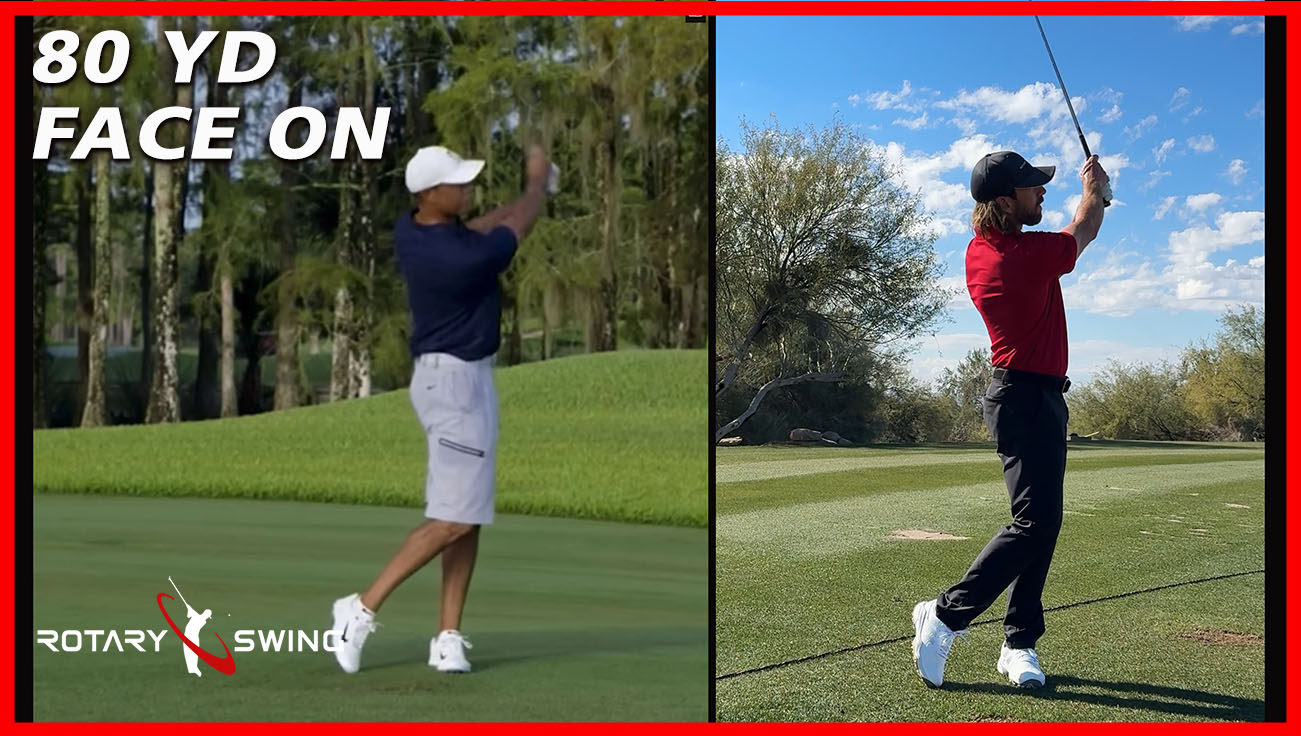
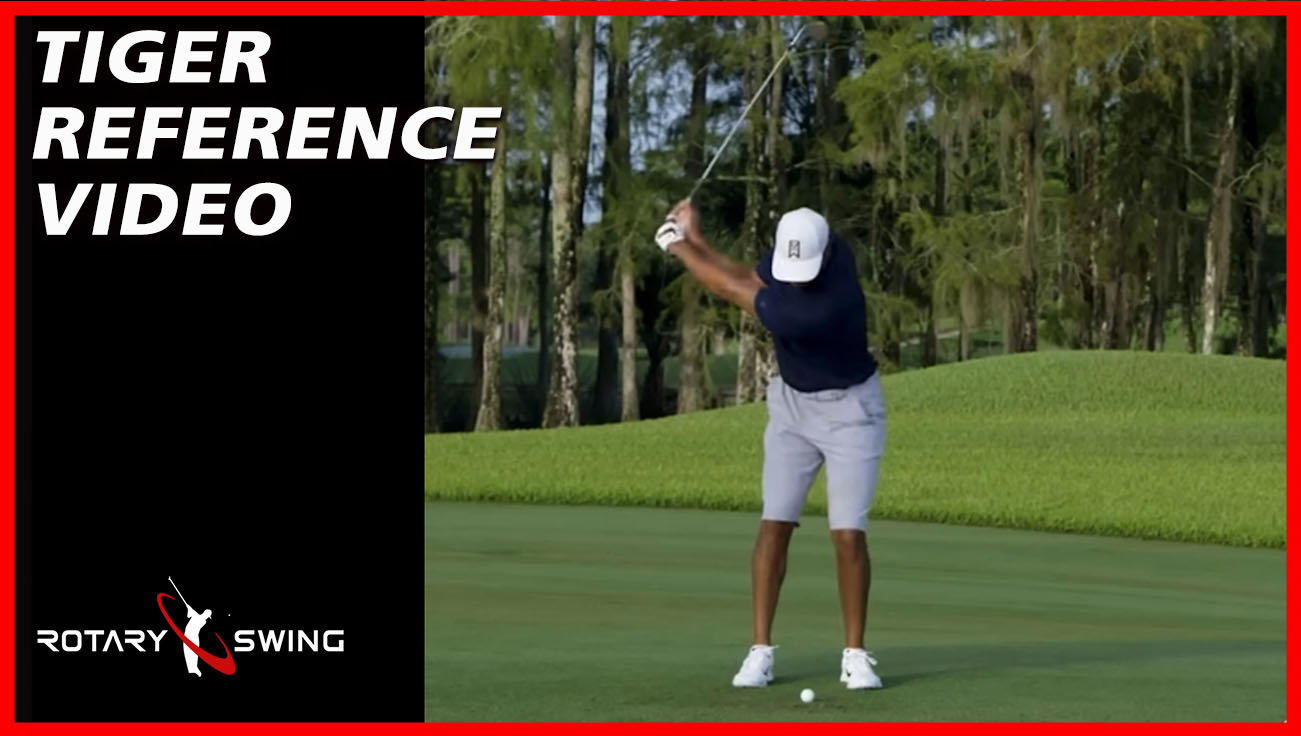
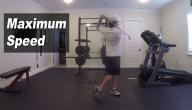
At impact, our segments roughly look like this. The hips are 30-45 degrees open, shoulders are nearly squared up, the lead arm and club form a straight line, so we've taken all of those stored segments and unwound them in the correct sequence. That's the entire goal for delivering maximum clubhead speed.

Energy is not fully released
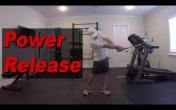
Proportionately, you can see that the club is considerably longer than my arm in this representation. Obviously, the reason for that is that the longer the lever, the faster the end of it can travel. The problem arises — this is obviously a full release at this point — when everybody keeps unwinding their shoulders while their arm is still draped across their chest, and the club is lagging behind like this. That doesn't look like we've fully released our energy, right, Clay?
Clay: Yeah, exactly. The club is still lagging behind. We usually end up hitting it very thin, or pushing it to the right.
Chuck: Yeah. This is what we see a lot of our better players do. They move their lower body really well, but they don't learn to decelerate the body so that the club can finally accelerate. When you consider the length of this lever, and you realize that at the top you've got your wrists cocked this much, the club head has a long distance to travel through space.
If I grab the end of this club, it's got a long ways to go. If I just keep spinning my arms and pulling my arms as hard as I can, it's going to end up lagging behind like this. That's the pattern we deal with among a lot of better players.
In this next part of the video, we're going to cover how to get everything in alignment, and how to get these segments to release at the right angles and the right times so you generate tremendous speed without a lot of physical effort.
As we just demonstrated in the theoretical portion showing you the 2D model of our stick figure, Clay, going through the swing, now we're going to move into actual drills and put these concepts into practice. One of the things that's really going to accelerate your learning is relating the golf swing to other athletic movements.

Spinning the arms leaves the club behind
While the golf swing isn't identical to sports you may think of immediately like baseball, throwing motions, or hitting motions — because they have different requirements — there are enough meaningful similarities that they're absolutely worth examining.
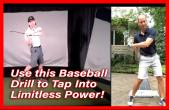
One of those that's really, really simple, and that we use frequently in the clinics — you've seen the video on the website — is the Throw the Ball Drill. One critical thing you need to understand is that the Throw the Ball Drill, where you feel like you're throwing it from the top, is designed for somebody who's already moving their lower body correctly.
For those of you who aren't there yet, you can still take the concept of the exact sequencing your body would perform when throwing a ball, understand how the lower body initiates and how those segments accelerate, and relate it to the golf swing quite accurately.
Clay, if you were going to load up to throw a ball with maximum distance, what would be the first thing that you would do? Just start right from the beginning. Not even going forward yet, but what would you do to throw a ball with some real power?
Clay: The first thing I would do is probably transfer a little bit of weight to my back leg. I would be shifting my weight back and loading up so I would be braced and have some leverage to throw the ball forward.
Chuck: OK. That's a great observation. We hear that instinct described a lot.
What about guys who ? They would throw a ball kind of like this. Have you ever seen a baseball player throw a ball like that from the outfield?
Clay: I can't say that I have.
Chuck: I haven't seen it yet either. I would actually like to, but I don't think it would go very far.
The reason is, we need to load up the body in different segments. A significant part of sequencing the golf swing correctly is really about building momentum. It's not simply about generating raw power; getting body segments to move with momentum allows you to generate speed in the proper order.

No separation between upper & lower body
When we're moving large structures — your pelvis is one of the most substantial bone structures in your body — it requires significant effort to accelerate. It's quite heavy, so it's going to take some momentum and some fluid movement back and forth to begin generating real power.
As he mentioned, the first thing he's going to do is load up on that trail leg. We do the exact same thing in the golf swing. This is another important concept that I want to briefly address because many of the things I discuss on the website are really geared towards the better player who executes a lot of movements accurately but simply overdoes them.
We talk frequently about how the hips don't move during the takeaway. That's not entirely accurate. That cue exists to help the golfer who does this — the one who just spins their hips wide open. There's no power available to your golf swing if you're just doing this and you have zero separation between your upper and lower body.
It's not that your hips don't move at all. It's that if you're over-rotating them this much going back, that's counterproductive — the club goes to the inside, among other problems. As Clay mentioned, he's going to load up. What he demonstrated was correct. He's actually going to get a genuine hip rotation going back.
Again, if you're somebody who barely rotates their hips with any real intent, it's not going to generate useful loading. We want to load up onto that trail glute, which is why we shift back onto our trail ankle and pivot onto that trail hip. Now we've built the foundation to generate some serious momentum.

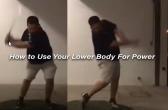
Weight shift for a baseball throw
What's going to be your next move?
Clay: The next step, once I've loaded back, is I'm ready to start moving toward the target. The first thing I'll do is start to shift my weight back to the lead side. I'll also almost squat down a little bit, to help build up some ground force and power.
The same principle applies to jumping; obviously I can't jump if I'm standing fully upright. It's impossible to jump from this extended position — I'm already at full muscle extension with no stored energy.
Chuck: Yeah, exactly.
Chuck: I'd want to squat down and start to shift to the lead side. That way I would have potential energy ready to be released.
Chuck: Yeah, and that squat is really important for the golf swing. What he's doing is activating his glutes. If you don't squat down, your glutes don't get properly stretched. If you don't stretch your glutes, you can't fire them explosively. It's really that straightforward.

Loaded up into the right side
As he's loading up into his trail side, as he's pivoted around his trail foot and he's loading up to push off that trail leg, his body drops down a little bit so that he can stretch those glute muscles, which you absolutely must do for power and stability in the golf swing. That's excellent.
The next thing he says, "Once I do this, I'm going to start to go the other way." It's a simple athletic movement. You're not going to lunge — his lead leg is going to externally rotate just a little bit. He's going to point his foot at the target.
Clay: Just like we demonstrated in the model, the hips are going to start to unwind a little bit, but I'm going to keep my upper body coiled and positioned back behind my hips.
Chuck: Exactly. This upper part isn't firing yet; this is still red. This is yellow; it's going to fire, but not until later. It's got a caution flag on it, but this green segment has the go-ahead. The first move in the transition is we step and we pivot.

Step & pivot
Once we're on this lead leg and our knee is lined up over our foot, we've got the ability to drive off this glute and post up so that energy can be transferred upward through the kinetic chain. As our body receives force from the ground, we can transfer that ground force through the body and ultimately to the arm and club. Want to see how your own weight shift and transition measure up? Try a free AI golf lesson that gives you real-time feedback on your sequencing.
One of the things that's really telling is that you've never seen a pitcher throw a ball and just keep collapsing forward. He posts up.
Clay: Yeah, exactly.
Chuck: When he's doing that, he's actually pushing hard against the ground. Clay, can you demonstrate what that would look like for us?
Clay: I start to throw, and then I'm posting up on my lead side and that's bracing. It's actually decelerating my lower half, and that way I can transfer the energy as I come on through into the throw.

Bracing on the left
Chuck: Exactly. The reason that you don't just keep drifting forward is because you would be absorbing that energy. You're creating force thanks to gravity. Gravity is constantly wanting to pull you down, so you have to use the muscles in your body to decelerate your body to keep from falling forward on your face.
The harder you push against the ground, the harder the ground pushes back against you. That's Newton's third law, and it's a tremendous asset in the golf swing. It helps you transfer energy efficiently. As your body stiffens up to prepare for the release of the club, that's how ground force translates into clubhead speed. You can't be soft and loose and transfer any meaningful energy from the ground or from your body into the club.
As you post up, the muscles have to fire in order to stiffen everything up so that the stored energy can release with speed. That's exactly what Clay just demonstrated. He pushes against the ground with his lead leg and his lead glute. Then everything above unwinds and releases.
At that point, most of the sequencing has already been set in motion. You don't have to worry as much about the upper body, once we get the lower body sequence right.
We've got a couple of outstanding drills that we're going to walk you through, and Clay is going to demonstrate exactly how they work, taking that entire concept of how you would throw an object — because that's the fastest way humans have ever figured out how to accelerate any object — through that kinematic sequencing of body segments.
When ancient humans were throwing spears, chasing prey for food, that's how they figured out how to generate maximum velocity. Nobody threw a spear with stiff legs and no weight shift. It simply doesn't work that way.
Let's grab a club and the bag. We've got an impact bag here. Of course, you can get these from the site. They're very inexpensive. You can also use small children or animals, either one. Whatever you have available, but these work better because they're reusable.

Loaded up into the right side
Go to the top for me Clay. Show me loaded up at the top of your backswing. Let's turn so we're a little bit more squared up to the camera here and I'll move out of the way. The other way, sorry, from face on. Perfect.
As Clay goes to the top, the first thing he's going to do is be loaded up on that trail side. You're going to feel that trail ankle pushing into the ground, and now we're going to perform this drill.
This is called the Stride Drill. All we're going to do is actually take a physical step forward with that lead leg to activate those muscles. What I want Clay to do is actually stomp his lead foot on the ground to where I can hear it. Not your toes, because then you're only engaging your quads. I want him to push his heel down, and you can hear that solid contact with the ground.
Clay: You really want to make sure you activate the glute and you can feel it firing in your lead glute.
Chuck: That's why it's so important to stomp, because if you stomp it down, whether you want it to or not your glute is going to fire. What we're trying to accomplish is sending a clear message to your central nervous system that we want that muscle to engage and contract.
You probably don't think about your golf swing from a biomechanics perspective like this right now, but that's exactly how I approach it. We want to train your brain to extract power from the ground and from your glutes. Go ahead and do that for us, Clay. Go to the top.
He's going to take a step and stomp it. Excellent. Then, as his body would keep coming through as he's posting up, he would into the bag. Let's go ahead and do that all in sequence. Step...good. Let's go ahead and, without stopping on this next one, step and then go ahead and whack the bag.

Step/Stomp Drill
There we go. You can see there's a lot of force and a lot of power available from that stomp move. That's actually a great way to hit balls. It's challenging to hit balls like that initially, because you're changing where your divot bottoms out, but you can absolutely do it.
The most important thing is to learn to drive into the impact bag, because the impact bag forces you to decelerate and transfer all your energy into the bag. Let's do it one more time, Clay, so they can see the complete sequence.
The full sequence; he's going to load up to the trail side, take a step, boom. Lots of power there. You can see he's really posted up on that lead side. That's excellent.
Now of course in the actual golf swing we can't really take a full stride. We need a lot of precision and accuracy. This drill is designed to help you learn to fire the lower body in the correct sequence, but now what we want to do is scale that movement down.

Lift the left heel
As you know with RST, everything I've developed follows a progressive approach. We start with a big-picture movement, and then we progressively put it back into the context of the actual swing. Now Clay's going to go to the top of his swing, but rather than taking a step, he's going to lift his lead heel off the ground.
I'm going to move this bag here, just so you can see the movement clearly for a moment.
Go ahead and lift the lead heel, and then he's going to stomp the lead heel down, and then he's going to be able to come down and deliver into the bag.
This takes that same weight shift motion, the same kinematic sequencing, the same neural messages that we're trying to program into our brain — to fire that glute, to extend the leg, to engage the hamstring. We're going to practice that in a more controlled environment now. If you're working on this weight shift pattern, a free AI swing analysis can show you exactly where your transition breaks down.
Let's go ahead and do the whole thing in sequence now. You're going to do the same thing, and I want to hear that lead heel stomp down on the ground, just like we did before.

Impact
Clay: OK.
Chuck: Lift the heel...good.
Now it's the same drill. Notice how his hips are rotating, but they're also stopping and decelerating. Once that glute fires — this is really important — as your glute contracts, it prevents the hips from continuing to pivot open. Go ahead and get into that impact position without the bag again.
Lift your lead heel and stomp it; we'll go through the whole thing in sequence. Put it down hard. Now if your glute's fully engaged, how much farther can you turn your hips from there?
Clay: Not very much farther. It's pretty much stopped there. It's braced.
Chuck: That's pretty much the extent of the rotation, right? Now get back into that impact position again. Do the same thing, and now relax your glute. Let it go completely. How far can you turn now?

Glute fully engaged
Clay: I can really turn as far as I want to. I could just spin right out of it, I guess.
Chuck: Exactly. That's what happens for our better players who over-rotate. That's what the Hip Spinners videos and related content are designed to address — those glutes aren't engaged. In order for your hips to continue rotating past impact, your glute muscles actually have to relax. As they relax, you can pivot all day long. This produces a very aesthetically smooth looking golf swing, but it's an extremely weak way to swing the golf club.
We want to post up, stomp, and then once that glute's engaged the body can decelerate and transfer energy up the chain to the club. These two drills are absolutely critical for learning how to move your lower body properly without getting bogged down in the minutiae — "OK, the lead leg has to externally rotate a specific amount, and then I've got to shift my weight precisely..."
If you simply think about making the motion a little bit more athletic — stepping, stomping — that's going to help you internalize the basic lower body movement patterns. Then you also get auditory feedback, where you hear your foot stomping on the ground, which reinforces the timing.
If you practice these drills consistently, eventually, once you get comfortable enough to make the lower body movement correctly and decelerate at the right point, you can start just slightly lifting your heel inside your shoe a little bit, rather than lifting your entire foot off the ground.
Just start making the movement smaller and smaller and smaller. Some of you may find that you prefer to play with the heel actually lifting. That's perfectly OK. The only potential downside of lifting the heel excessively is that you're really freeing up your hips to rotate a lot, and that doesn't build up maximum ground force and loading.
If you lift your heel and you're still loaded up on the trail side, it's perfectly OK.
Just start making those heel stomps progressively smaller and smaller, but still focus on really setting firmly into that lead side in your regular golf swing and you'll develop a powerful lower body movement, generate significantly more clubhead speed, and have much greater control over your golf swing.
Watch part 2 now to see how you're moving your body in the opposite direction of the pros!


 Use leverage to initiate the kinematic sequence by learning the drill in this video.