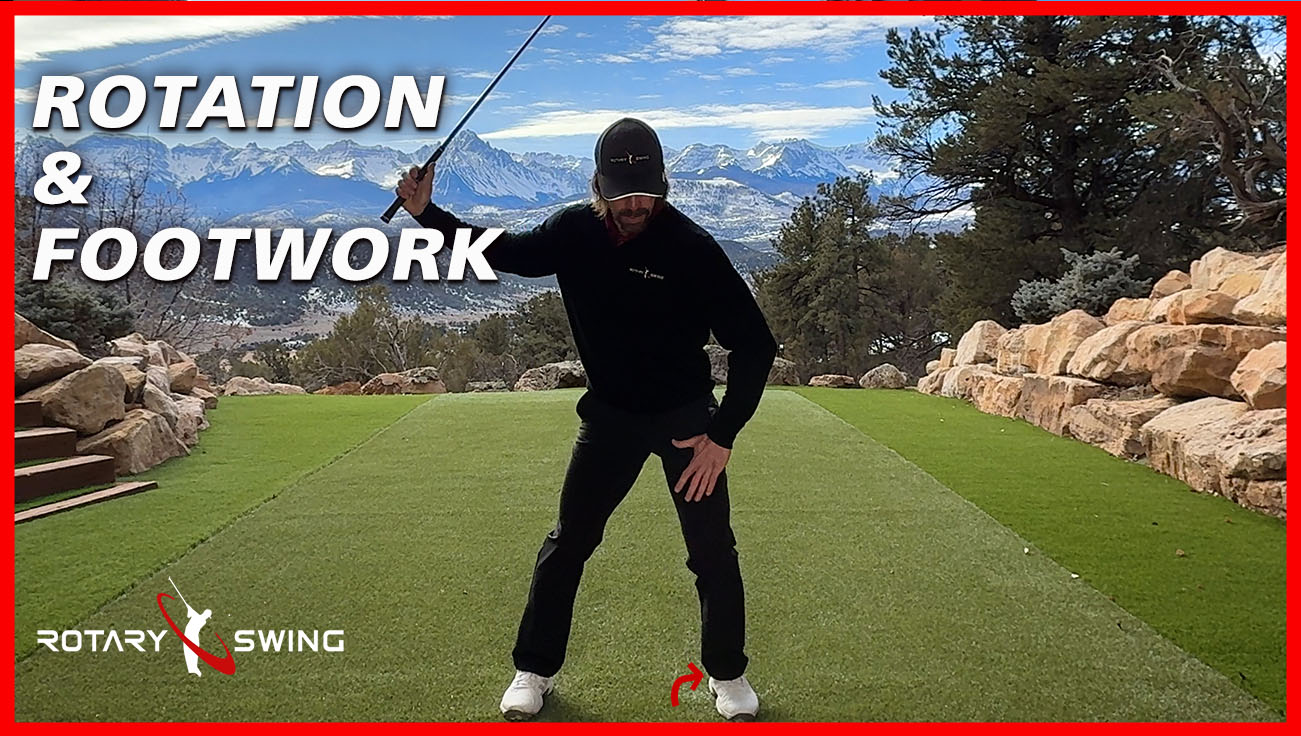
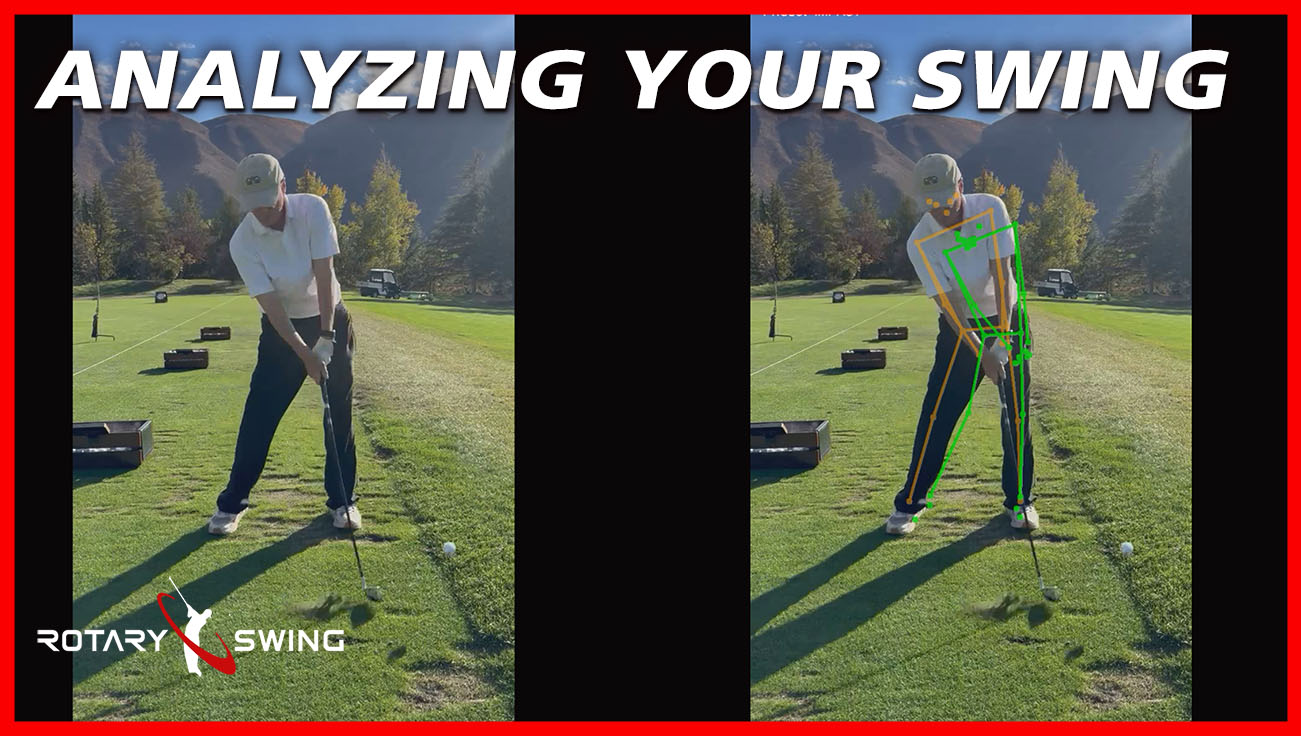
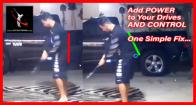
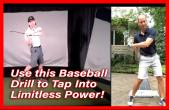
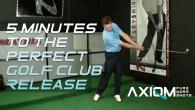
All the work you've done on your RST golf swing to this point has culminated in this next set of drills in the "5 Minutes to the Perfect Golf Downswing" video.
As with the other "5 Minutes to..." videos, a specific sequence and set of drills that can easily be done in your home or office is laid out in a simple to follow and easy to understand program that only takes a few minutes per day to get you moving forward and ingraining the proper movement patterns.
Building the perfect golf downswing should be the goal of every golfer for numerous reasons.
First, understanding how to move correctly and how to align the joints properly is critical for injury prevention. The forces generated during the downswing are tremendous and potentially very harmful if the movements are done incorrectly. This is where most golfers, professional and amateur alike, sustain their golf related injuries, so take the time to focus on the drills and positions in this video.

The forces that go through the body during a full speed driver swing are tremendous. For a professional level driver club head speed, the club head effectively weighs over 100 pounds through impact! Imagine trying to move around a 100 pound sledge hammer and you can understand how important it is to have your joints properly aligned to fight the stresses placed on the body during the downswing.
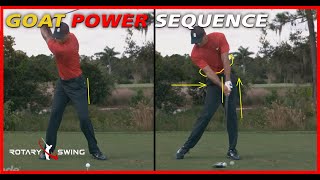
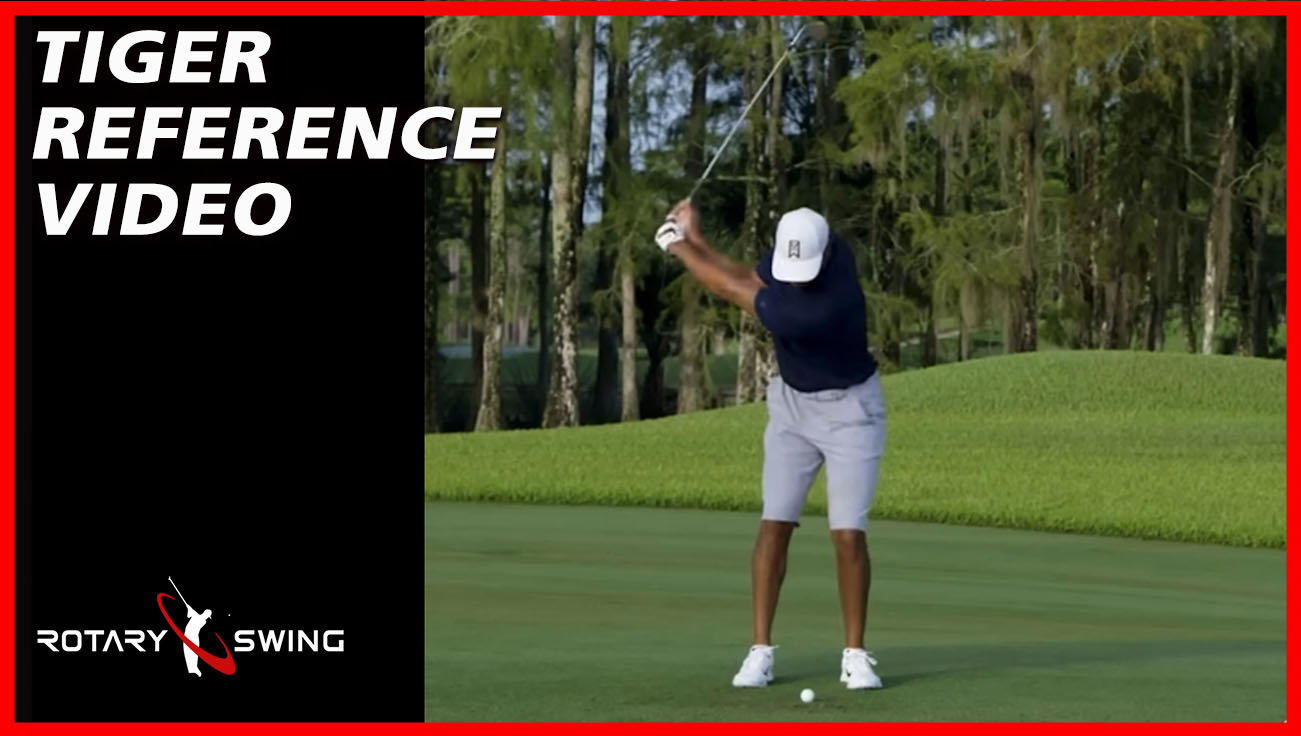
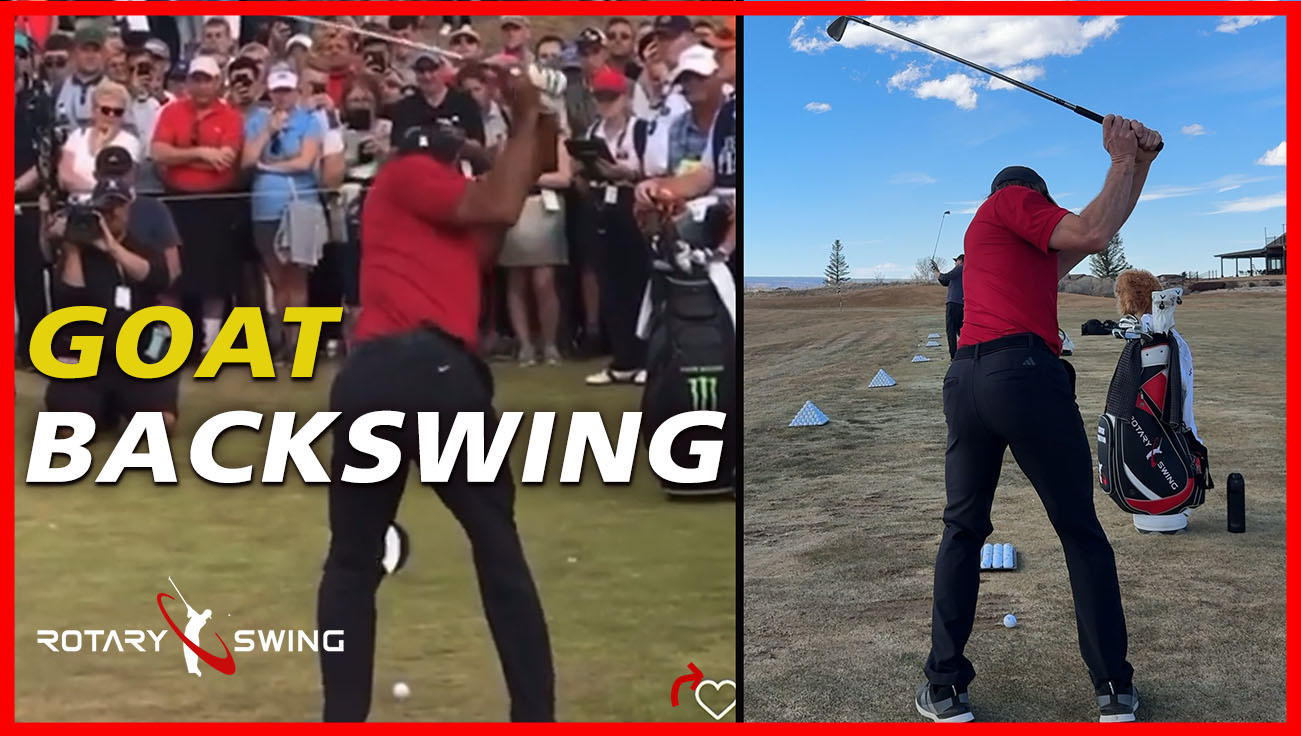
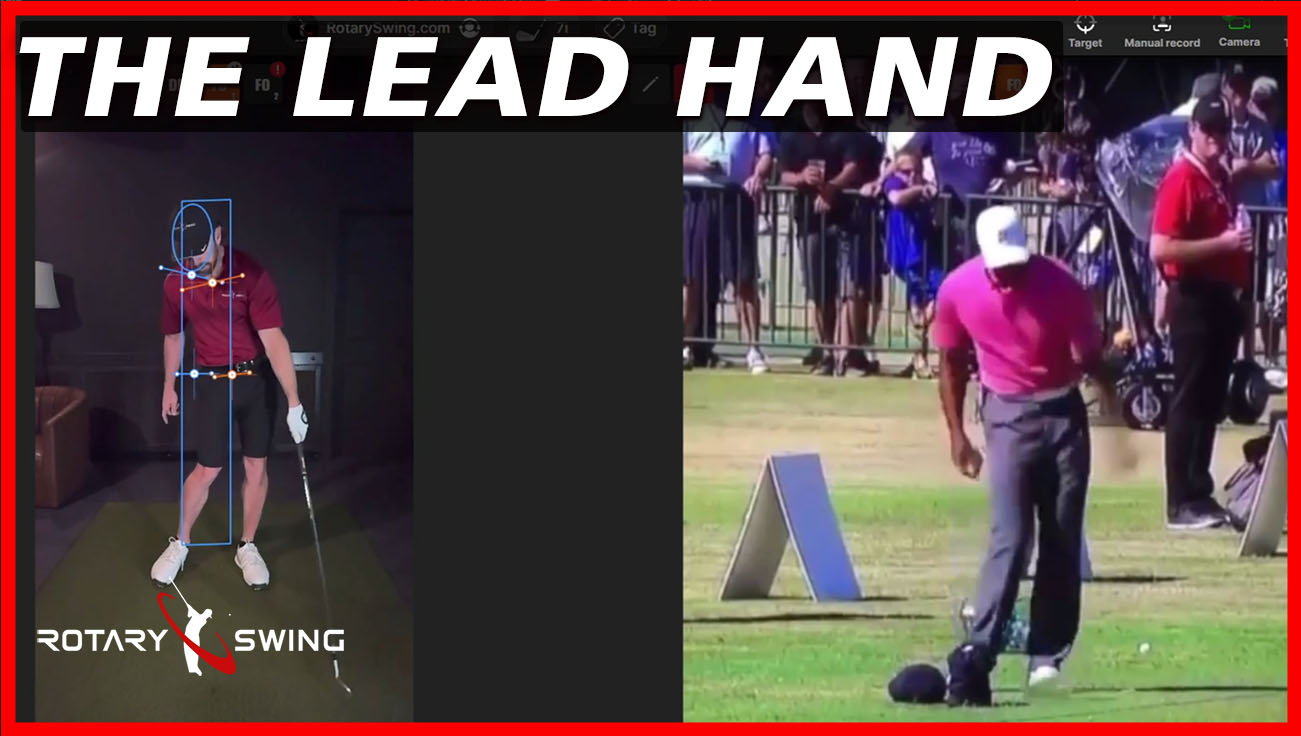
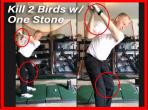
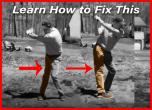
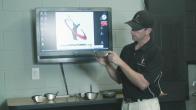
The picture above is from a great video ESPN did in May 2011 on Tiger Woods swing and the tremendous forces he's placing on his body by not moving correctly in the golf downswing.
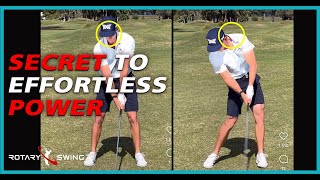
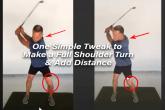
Second, the downswing is where the speed is created in the golf swing. Creating speed the RST way is about efficiency.
So, if you want to produce those powerful, effortless golf shots all golfers dream of, it's in your best interest to work through these drills daily.
And finally, accuracy and clubface control is also highly dictated by what you're doing in the downswing, so straights shots that fly far and true will be the result of you working deliberately through this video.
This video covers the sequence of the downswing from A-Z. Let's look closer at the movements and drills covered in this video...
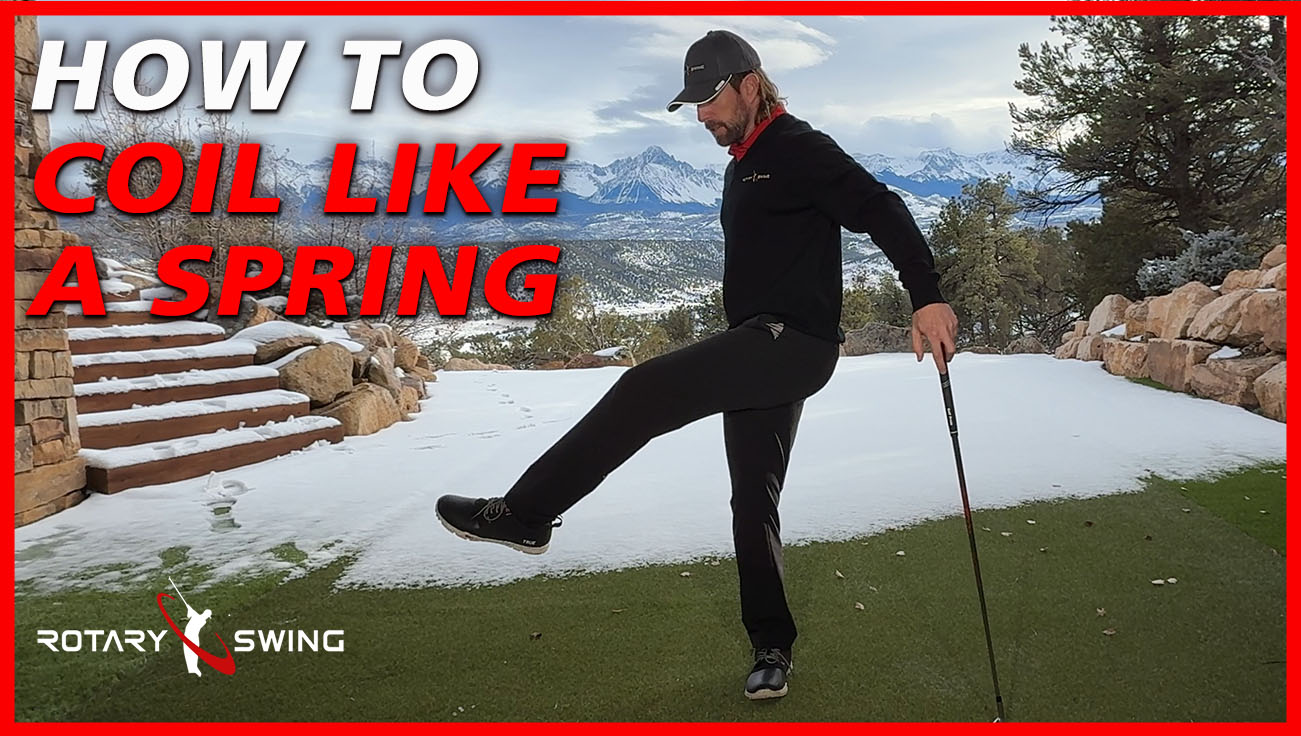
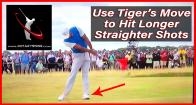
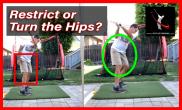
The first step in the downswing that I discuss in the video is the "squat" move that was made famous by the likes of Sam Snead and Tiger Woods and that I've discussed in the Tiger Squat video. This move is the first piece of the downswing and sets a lot of powerful things into motion.
"I went to the range today and just focused on the sequencing of the golf swing. I found that just squatting and shifting the weight into the left heel caused the hips to rotate naturally into the correct position in the downswing. I did not have to think about consciously rotating my hips. The squat and weight shift also let my arms drop into proper position while maintaing lag. The distance and accuracy I was getting were amazing. I found that swinging at 3/4 speed produced better results in terms of accuracy and distance than trying to swing at full speed!"
-Paul M. | Aug 28, 2012 | 12 HDCP
Once the squat is complete and the arms have had a chance to fall, the other videos you've been working on to this point begin to really come to life.
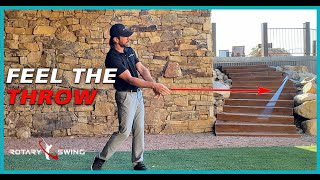
The Left Arm Downswing Drill helps get the arms back in front of the body while the Throw the Ball Drill begins to add speed.
The Left Hand Release Drill helps square and release the club head.
We can then focus on the Impact Alignments videos. (Note that I use an Impact Bag in this video to demonstrate how to check your Impact Alignments when you're not quite ready to focus on the release yet. If you don't have an impact bag yet, you can purchase one from our store here.)
As you can see, this one video ties everything together for the big pay off so it's time to get excited!
The sequence of drills in this video also takes into account whether or not you are working on left arm or right arm drills. Depending on what you are working on in your swing at the time, you will likely feel one arm more dominant than the other while swinging, and that is perfectly normal. So, if you're working on the LADD drill, you can focus on that motion while working through the rest of the sequence covered in this video.
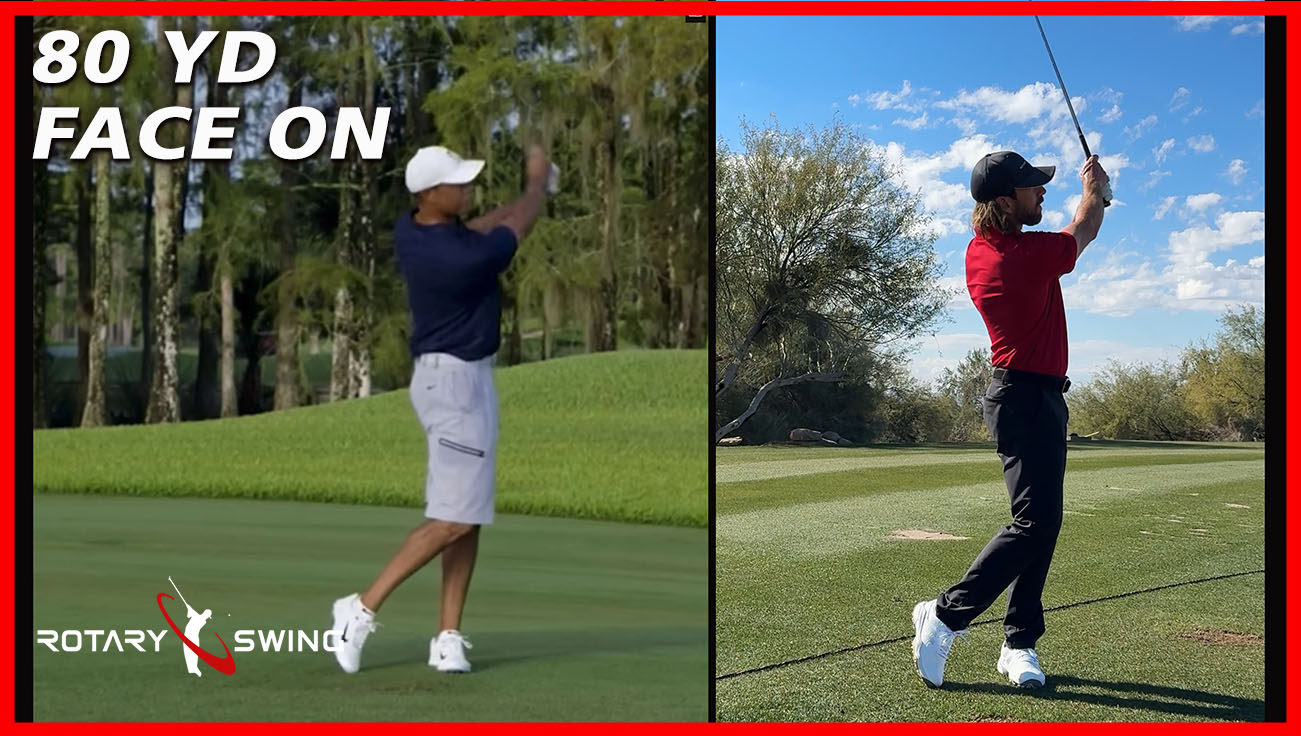
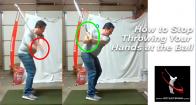
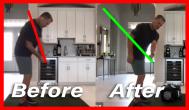
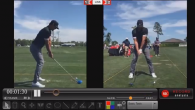
In the image above, I've sequenced through the entire golf downswing but removed the left hand in order to focus on the proper release of the right, which is primarily responsible for speed in the downswing.
Once you are comfortable that both hands are doing the correct job, you can then leave both hands on the club and work through the sequencing. Mastering the entire sequence will take time, so be patient.
If you put in 5 minutes a day with just the squat move, you should start to feel comfortable hitting some half shots with it in about a week. Add the other pieces as you're ready.
Now, let's watch the video!
Video Transcription: 5 Min. to Perfect Golf Downswing
You've finally made it. This is the graduation point for your golf downswing. If you've taken the time to work through the program, you're finally ready for this most important video, "5 Minutes to the Perfect Downswing."

Perfect position at the top
This video is going to include drills to teach you how to get into the perfect impact positions, how to sequence the downswing in golf and finally get the big payoff for all the hard work we've put into getting the proper setup, get the takeaway right, the backswing right, etc.
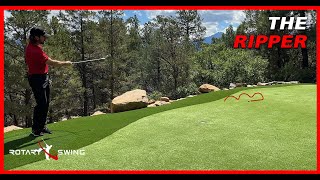
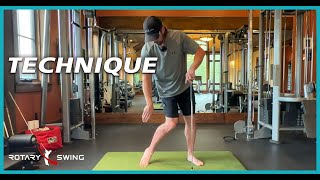
Golf Downswing
Let's get started, because this is going to be the most fun stuff to work on, and it's going to be the biggest payoff.
First things first, what we're trying to do is get ourselves into a perfect impact position first. How we're going to do that is we need to sequence things correctly from the top, and then we need to start checking ourselves into the impact position, then we're going to work up towards getting some release drills in here as well.
This is going to be a lot of great work that you can get in every single day, just 5-10 minutes a day, and get into a perfect impact position.

The first move is a squat
What we're going to do is go to the top of the swing. By now, you should be in perfect position at the top. If you're not, get out of here, turn this video off and go back and start working on the other things. You're not ready for this yet. There's no point in getting here if you're not in a good position at the top.
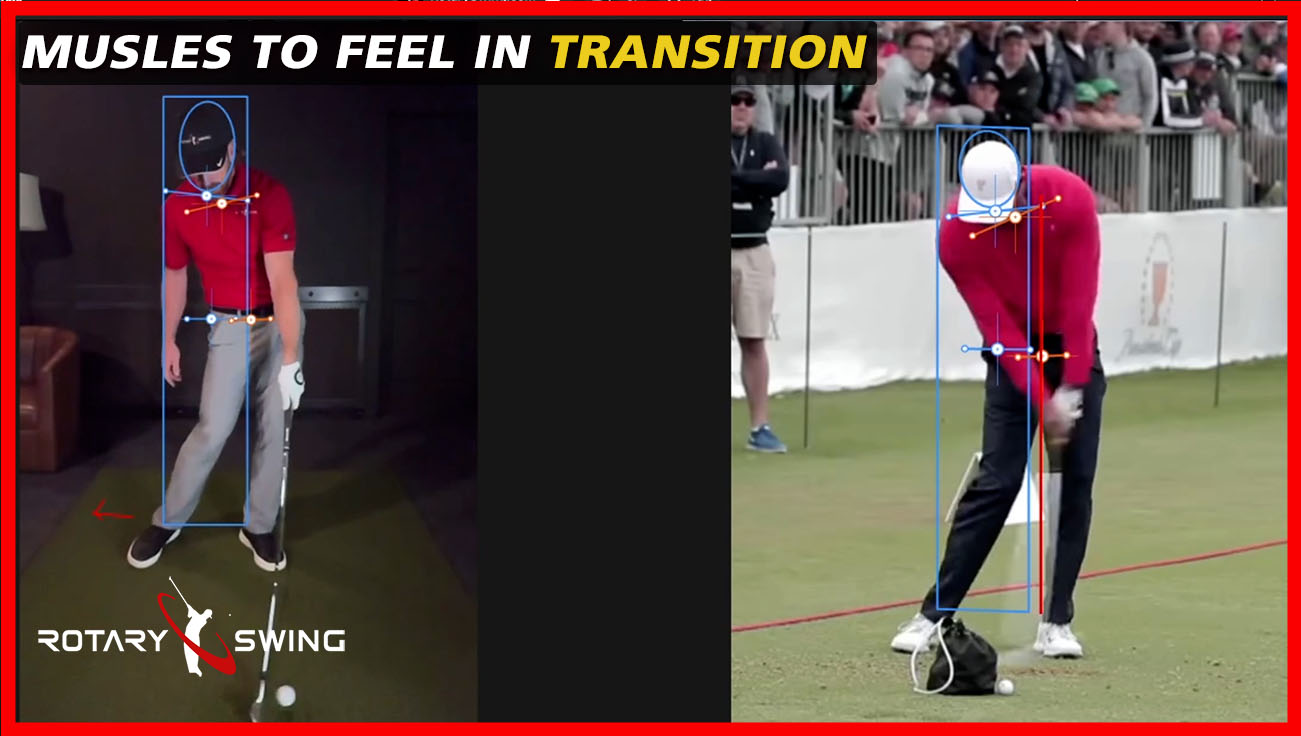
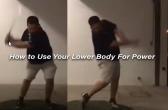
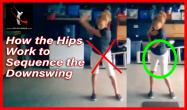
Perfect position at the top; the first thing we're going to do: Squat. This is key because this is going to stop us from spinning. It's going to stop us from pushing off the right side, losing our tush line, losing our spine angle, getting the club trapped behind us.
It's going to stop all those things and it's also going to allow us to leverage the ground and activate the glutes so that we can provide stability for the rotating upper body and the release of the club, and use the ground for leverage to finalize the snap of the release of the golf club at impact.
As we come down, the first move is squatting. It's not spinning. Basically, what you're doing is you're going from a turned position, and squatting back to square. What that looks like at the top of the swing, squat back to square. This is what you're drilling.

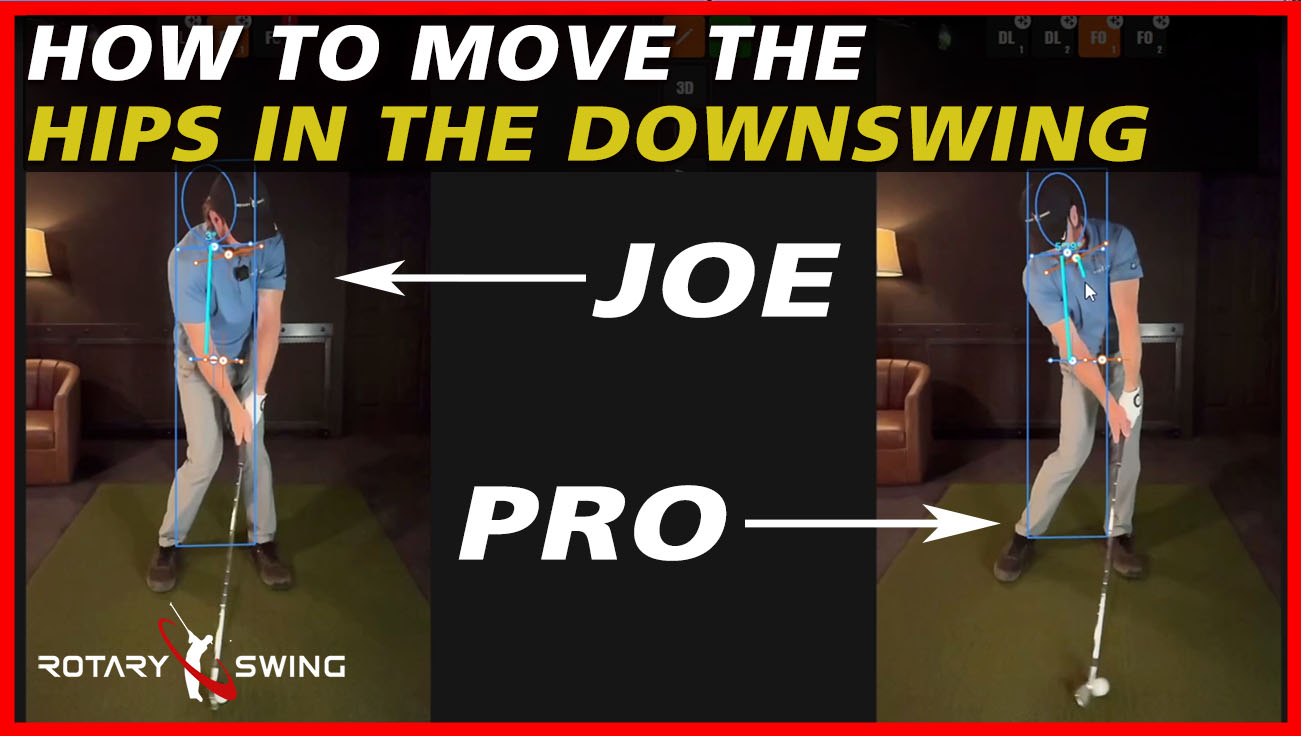
Pulling down with the left
I'm not trying to turn my upper body, I'm not trying to move my hands, I'm not trying to move the club. I'm simply going from the closed hip position, to square. I'm squatting, both glutes are activated, I'm pushing both feet into the ground, working my way over to the left.
First move, squat. Notice that my arms have dropped. I didn't try and consciously pull them down. They should be moving down, just due to gravity for the most part. There's a little bit of pulling in there, but they're pretty much getting a free ride by the fact that as you're moving your hips, that's pulling everything down in the golf downswing.
Here, squat. Now, as I'm in this position and I'm continuing to move onto the left, I'm really engaging these glutes. Now I'm pulling down with the left and getting ready to fire with the right, so I'm here.
Now we can use our Left Hand Only Release Drill if that's what you're working on at the moment because you're not worried about the right hand. You can get into your left hand impact position, check your impact alignments and release. If you're working on the right hand, you can take the left hand out of the equation and get to the right hand release.

Left leg straightens
It's ideal to train them independently if they're needing work. If both hands are great and you've taken the time to train them already and you get into the right impact alignment from release, then keep both hands on the club.
If not, work on one at a time. Squat, keep moving over to the left, push that left leg into the ground, and I'm going to do left hand release only. As I'm releasing the club, notice that my left leg is straightening through impact.
This is critical. As we're activating our glutes in that squat move in the golf downswing, what we're going to do to finalize the release of the club is, as I'm pushing my left foot into the ground using my glute, it's going to force the club to snap.
My body's moving this way, the club's forced to move that way. It gets a more forceful release and it doesn't take really any effort. If you're using big muscles here that are going to be firing anyway to provide stability, we can get a little leverage on snapping that release. Think about your body moving in one direction while it forces the club to move in the other.

Stop at impact
Now I'm going to do the same thing, but now I'm going to take the left hand out and release the right hand. If you're in a perfect impact alignment, you can go ahead and release it and start working on getting the club to release.
If you're not yet, you can use this "5 Minutes to the Perfect Downswing," squat into it, and stop at impact. If you have an impact bag, that will help make this even easier because you can now check your impact positions by stopping against that impact bag.
If you're not quite ready to release the club yet, just make sure you get the perfect impact alignments first. Then work up towards getting the release.
Now we're starting to put everything together. We've got a great backswing, squat, we're leveraging the ground, pulling the arms down and releasing the golf club, pushing the left heel into the ground and getting a nice snap and release of the golf club.
In working on this, you need to work on it in sequence in the pieces that are lacking in your swing. For instance, if you don't have the squat move down first and you spin your hips, don't worry about releasing the golf club yet. Spend each 5 minutes of your day that you're working on this, just squatting down.

Check alignment at impact
At first you're going to do it really slow, until you can really feel those glutes activate. Then you're going to start doing it a little bit more at speed, so that you get comfortable doing it in the context of how fast you're actually going to swing a golf club.
Once you get comfortable with that, start working into hitting balls that way. Keep your regular downswing however it is. We're not going to be able to change everything at once. Then, once you've gotten comfortable and mastered that, start adding into the impact position.
When I have my students hit balls, we try and stop at impact when we're hitting short shots. You'll go a little bit farther, but the goal is to check whether or not our impact alignments are good. I'll have them stop right here at first, and just hit really short shots.
Their goal is to focus their energy and stop at impact. We're just trying to get into the right impact alignment. That's the next progression. As you start hitting short shots, you go all the way to the top, squat, come down slow, and stop at impact and make sure everything's ideal at impact.

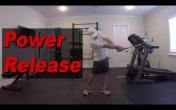
Release
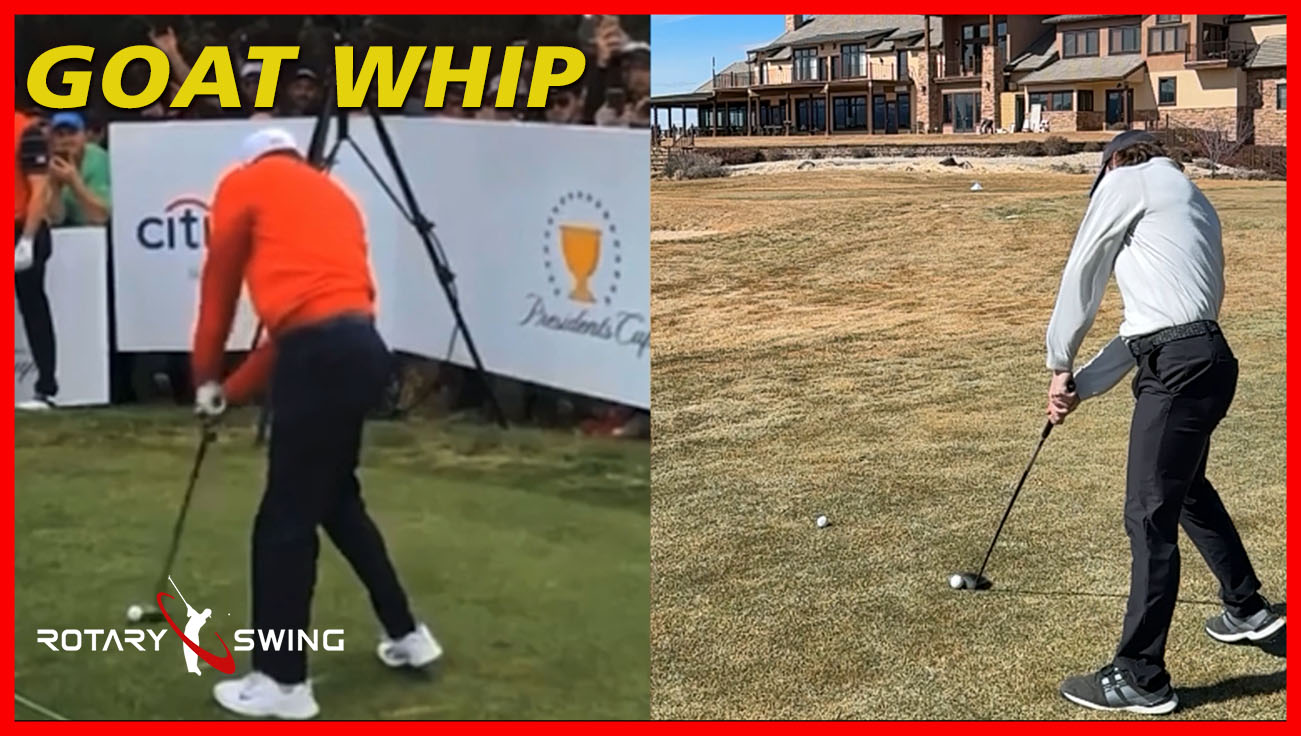
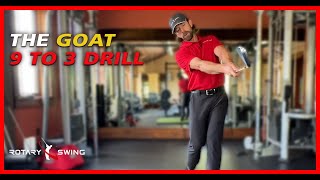
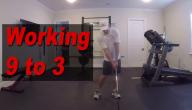
Then start working into getting the release. Now we can make short swings and get a lot of speed by putting all these together and getting a really good snap at the release. That is ideal for the 9 to 3 Drill. Now I'm going back, basically takeaway, I'm letting my wrists hinge, and then I'm working on release.
Putting all these little drills together - the 9 to 3 Drill, the squat move, the impact alignments, the left hand release, the right arm Throw the Ball Drill - it's going to help you start to build your perfect impact position and golf downswing, in only five minutes a day.
Work through these in sequence. Take them piece by piece, and you will have a perfect impact position and a great downswing for the rest of your life.
Watch part 2 now to see how you're moving your body in the opposite direction of the pros!